Before you start
- This is how a moving company that signs up on its own starts. A company that was already set up keeps its setup checklist.
- You need the link from the email MovePlnr sends when you sign up.
- The person who signs up is the owner, with access to everything.
Create your account
You sign up by chatting on the MovePlnr site: your company name, your name and your email. MovePlnr then emails you a link to finish.
- Open the link in the email.
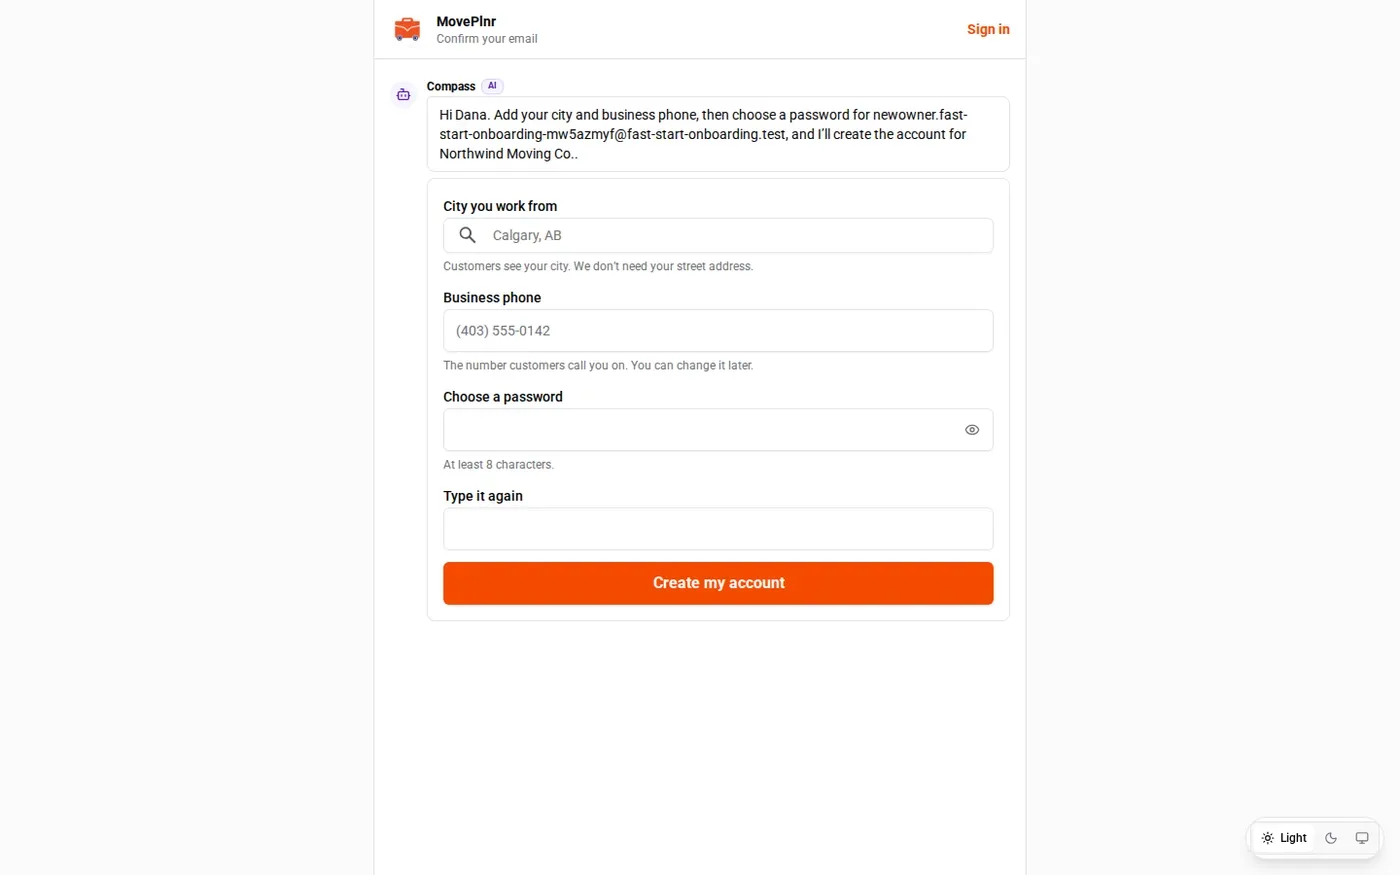
- Under City you work from, type the city or town you work from and pick it from the list. If the list doesn’t load, type it in full.
- Under Business phone, enter the number your customers call. You can change it later.
- Choose a password, type it again, and press Create my account.
You don’t need a street address. Customers see your city, and MovePlnr makes your first branch in that city with one truck, Truck 1, so you can quote right away. When MovePlnr already found your city or phone from your business listing, the page doesn’t ask for it, and Compass tells you what it used.
Pick your first task with Compass
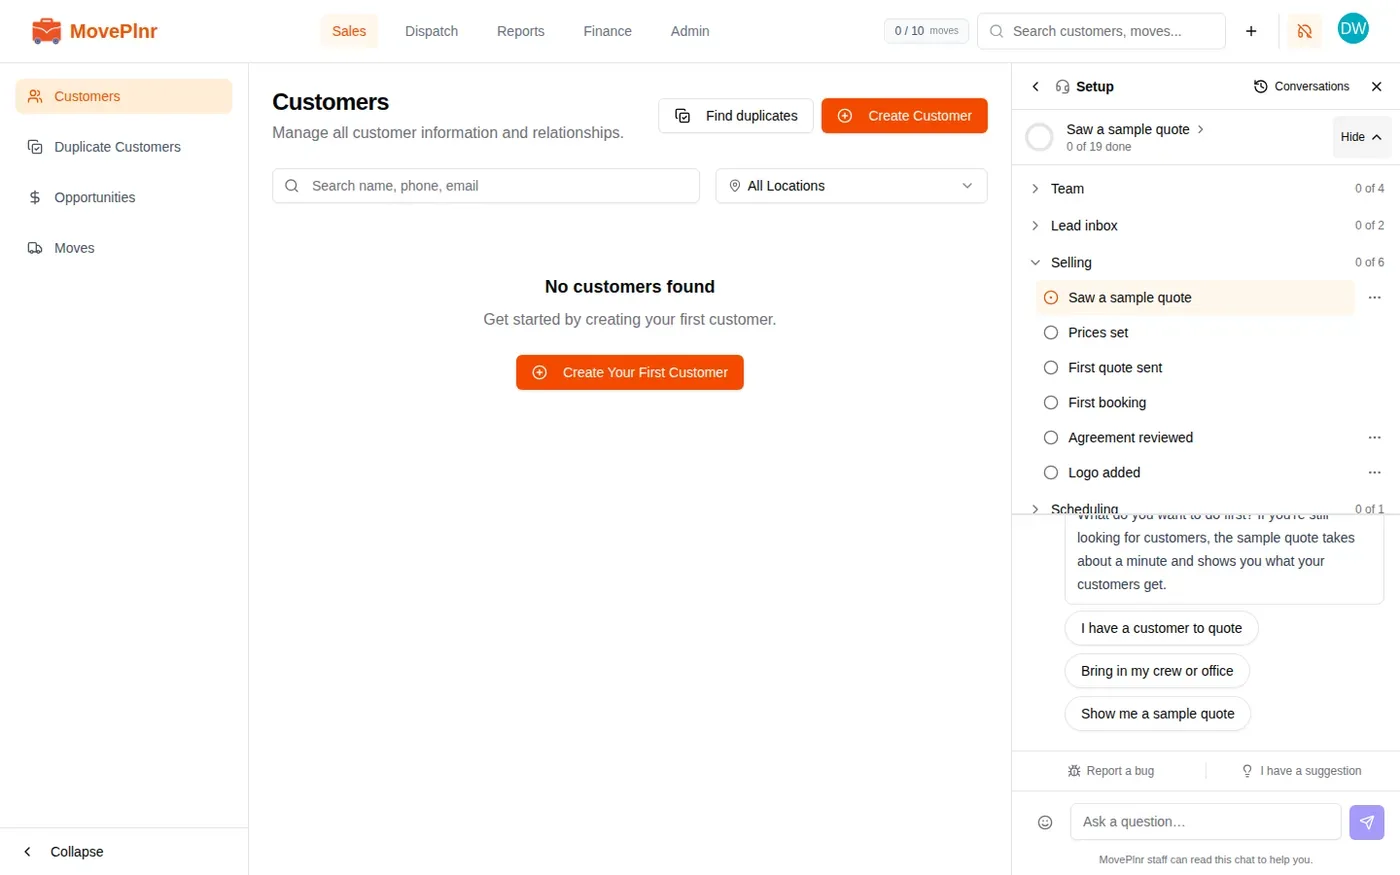
You land in the app signed in, with Compass open beside the page. Compass says your company is set up and asks what you want to do first. Press one of the three answers:
- I have a customer to quote: Compass asks for the customer’s first name, a phone number or email, and the move date, then makes the customer and the move. It takes you to the move’s page to fill in the addresses and send the quote.
- Bring in my crew or office: Compass asks who it is and what they do, then gives you a link for that person (see the next section).
- Show me a sample quote: Compass asks what you’d charge for a typical local move, then offers to send a sample quote to your own email. Open it, accept and sign it, and the job lands on your schedule. Nothing goes to a customer.
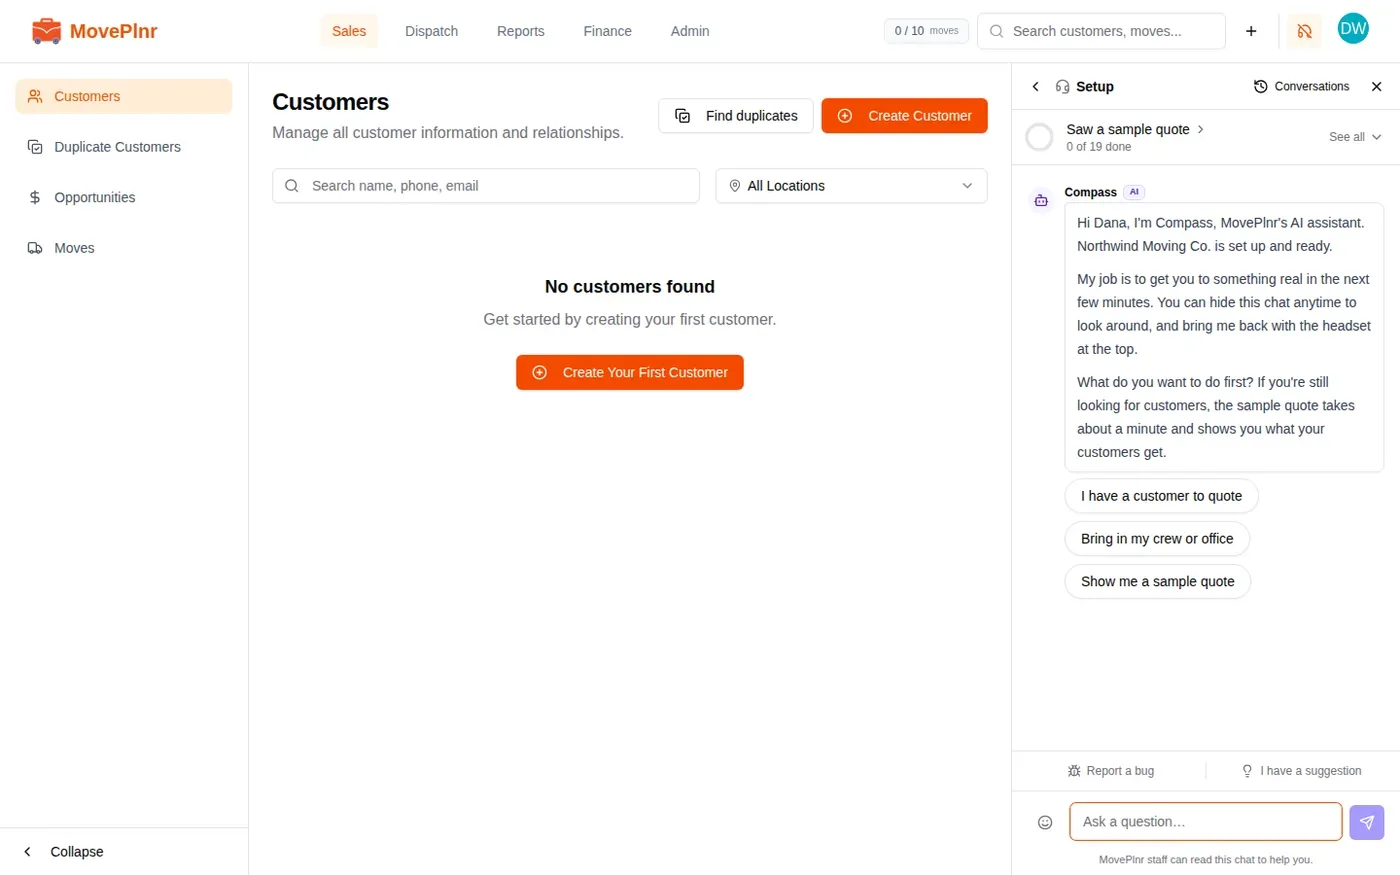
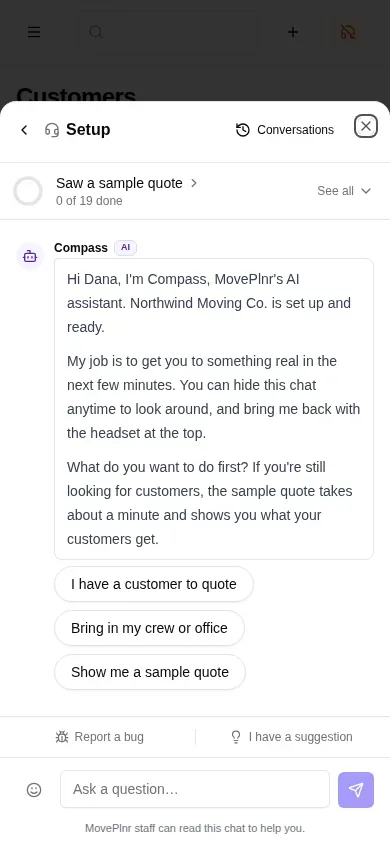
Compass opens by itself on every screen, on a computer or a phone, until you close it once on that device or until your first big step lands, such as a sample quote opened or a first quote sent. You can close it any time to look around. The headset at the top brings it back, and it keeps a dot until that first step.
Invite your crew with a link
When you choose Bring in my crew or office, Compass picks the access that fits the person’s work, such as Crew member for a mover or Dispatcher for someone who plans the day, and shows a link for them. On a phone, share it straight from Compass. On a computer you get a QR code and a button to copy the link.
- One link is for one person, and it lasts 7 days.
- Someone who needs full Admin access is added from Team Members, not by a link.
Every link nobody has used yet is listed under Open invites on Team Members, with the person’s first name, their access and the date it expires. Press Revoke to cancel one.

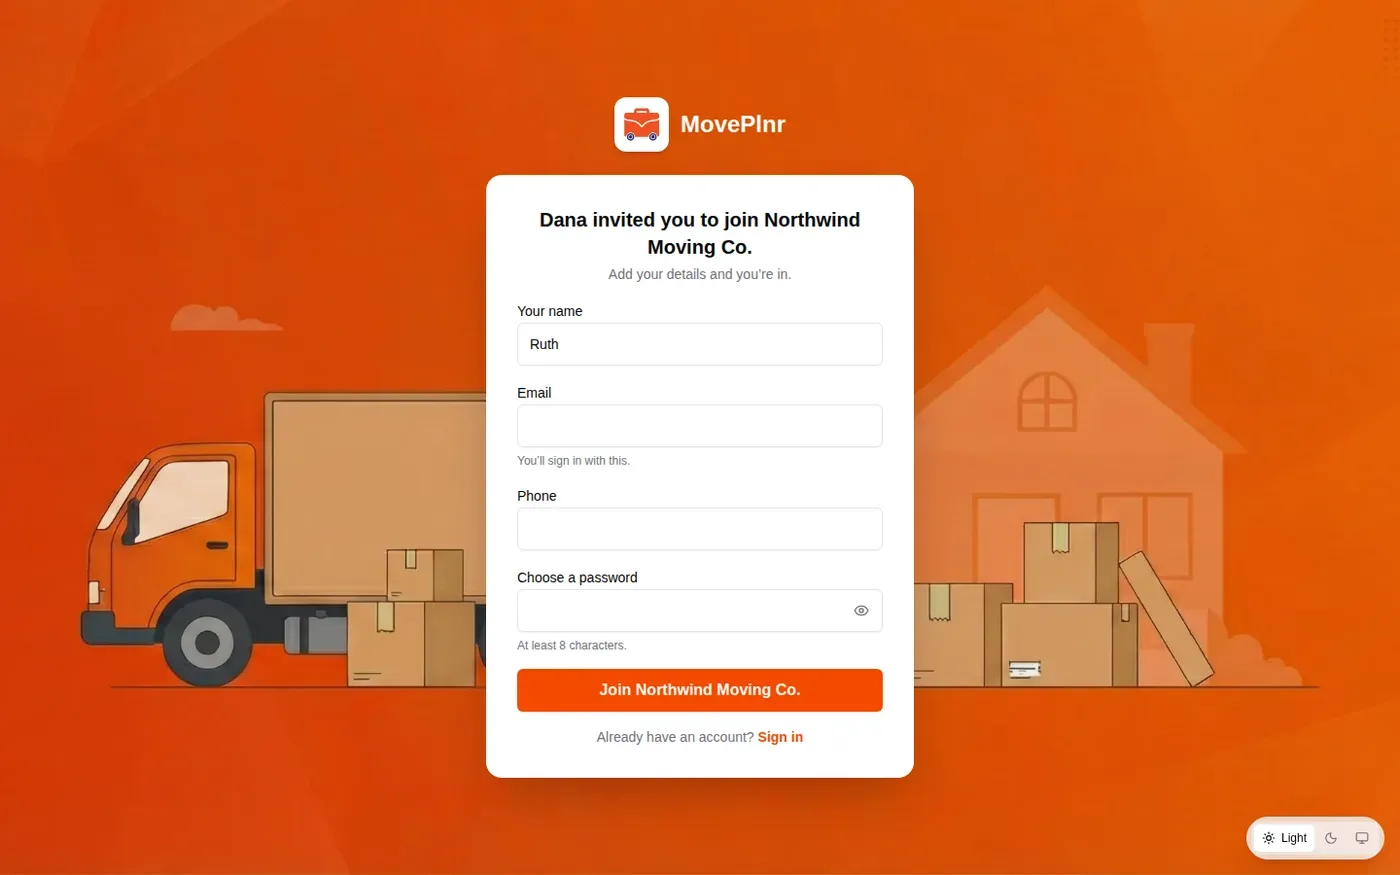
The person who opens the link sees who invited them. They enter their name, email, phone and a password, and they’re in. Someone whose access needs a sign-in code gets one by email first.
Follow the setup tracks
Instead of a fixed list of steps, your setup is a set of tasks in tracks: Team, Lead inbox, Selling, Scheduling, Running the job and Money through MovePlnr. Do them in any order. Each one ticks itself off once it’s done in the app.
- Look at the top of Compass. It shows the task it suggests next and how many are done.
- Press See all to open every track. Each one shows how many of its tasks are done.
- Press a task to work on it with Compass.
- Some tasks don’t fit every company. Open the three dots menu beside one and choose Not for us to set it aside, or Undo to bring it back.
Check the address customers see
Your city is what customers see. To make travel time estimates more accurate, add your street privately.
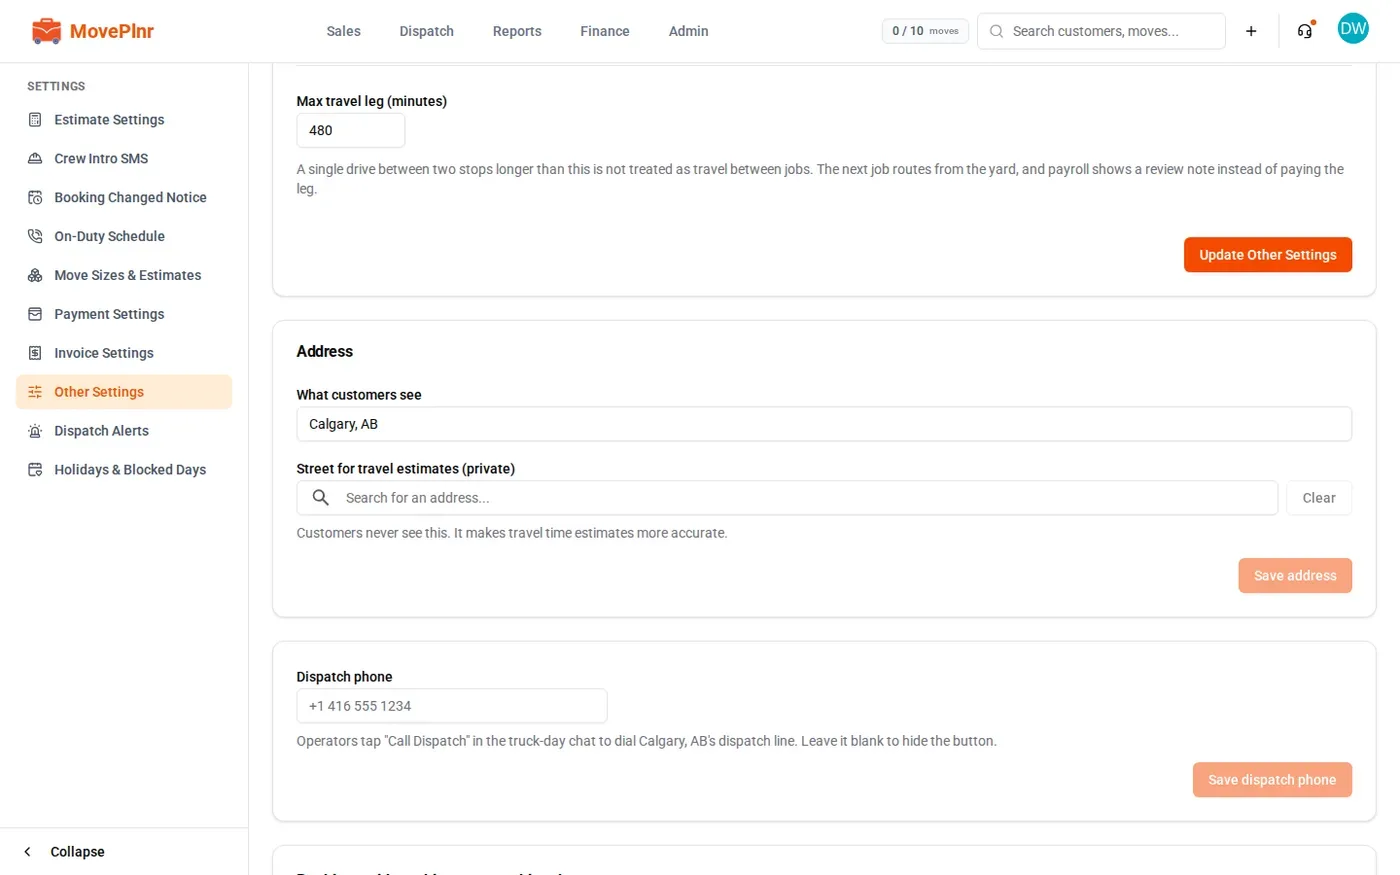
- Open your location’s settings, then Other Settings.
- In the Address card, What customers see holds your city. Change it if you like.
- Under Street for travel estimates (private), search for your street address and pick it. Clear removes it.
- Press Save address.