
Open Integrations Settings
Integrations and add-ons are company-wide, so only a company admin can change them.
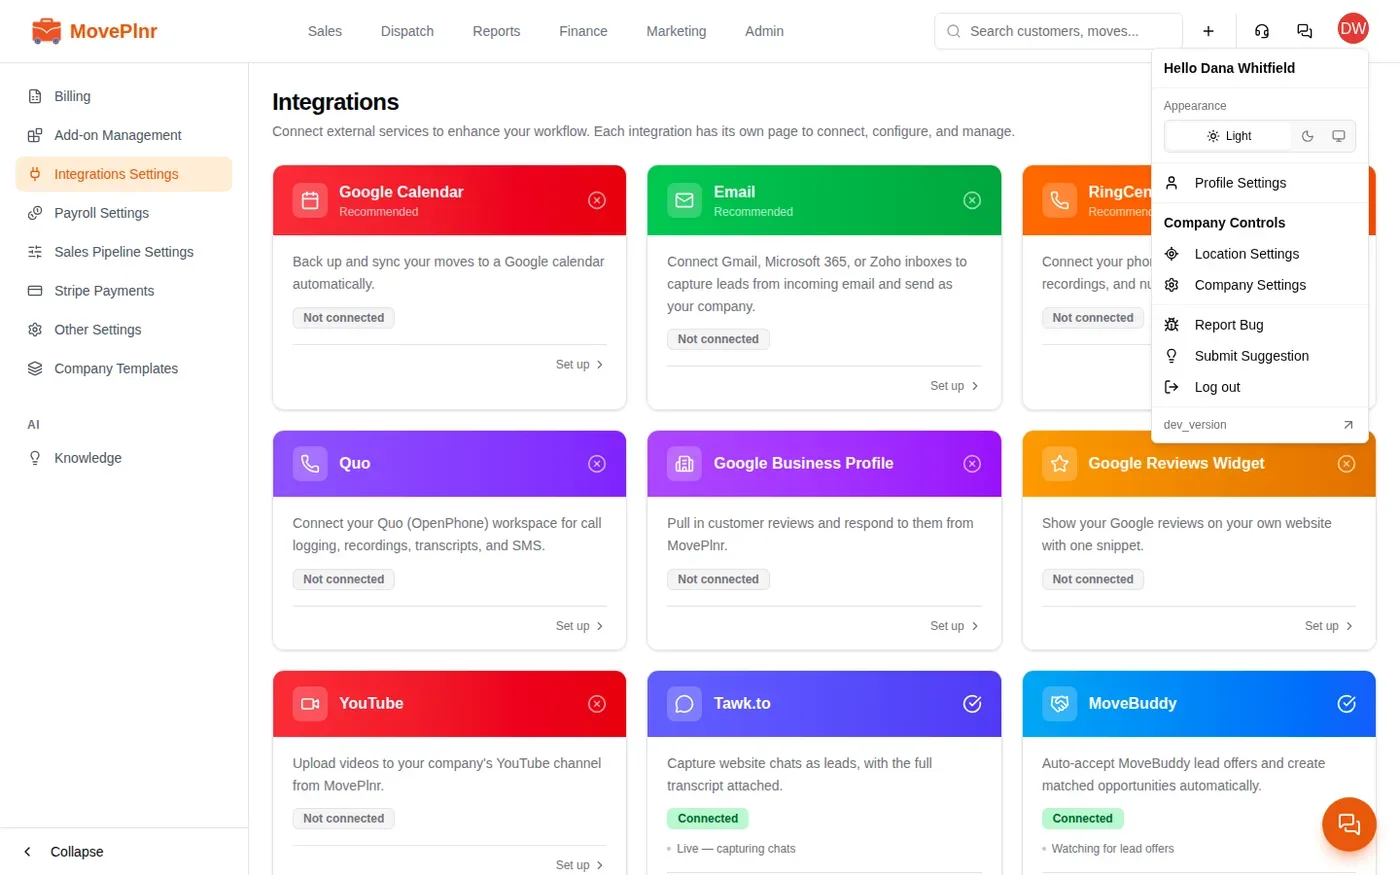
- Choose your initials at the top right of MovePlnr.
- Under Company Controls, choose Company Settings.
- In the menu on the left, choose Integrations Settings. Add-on Management sits just above it, under Billing.
Read an integration card
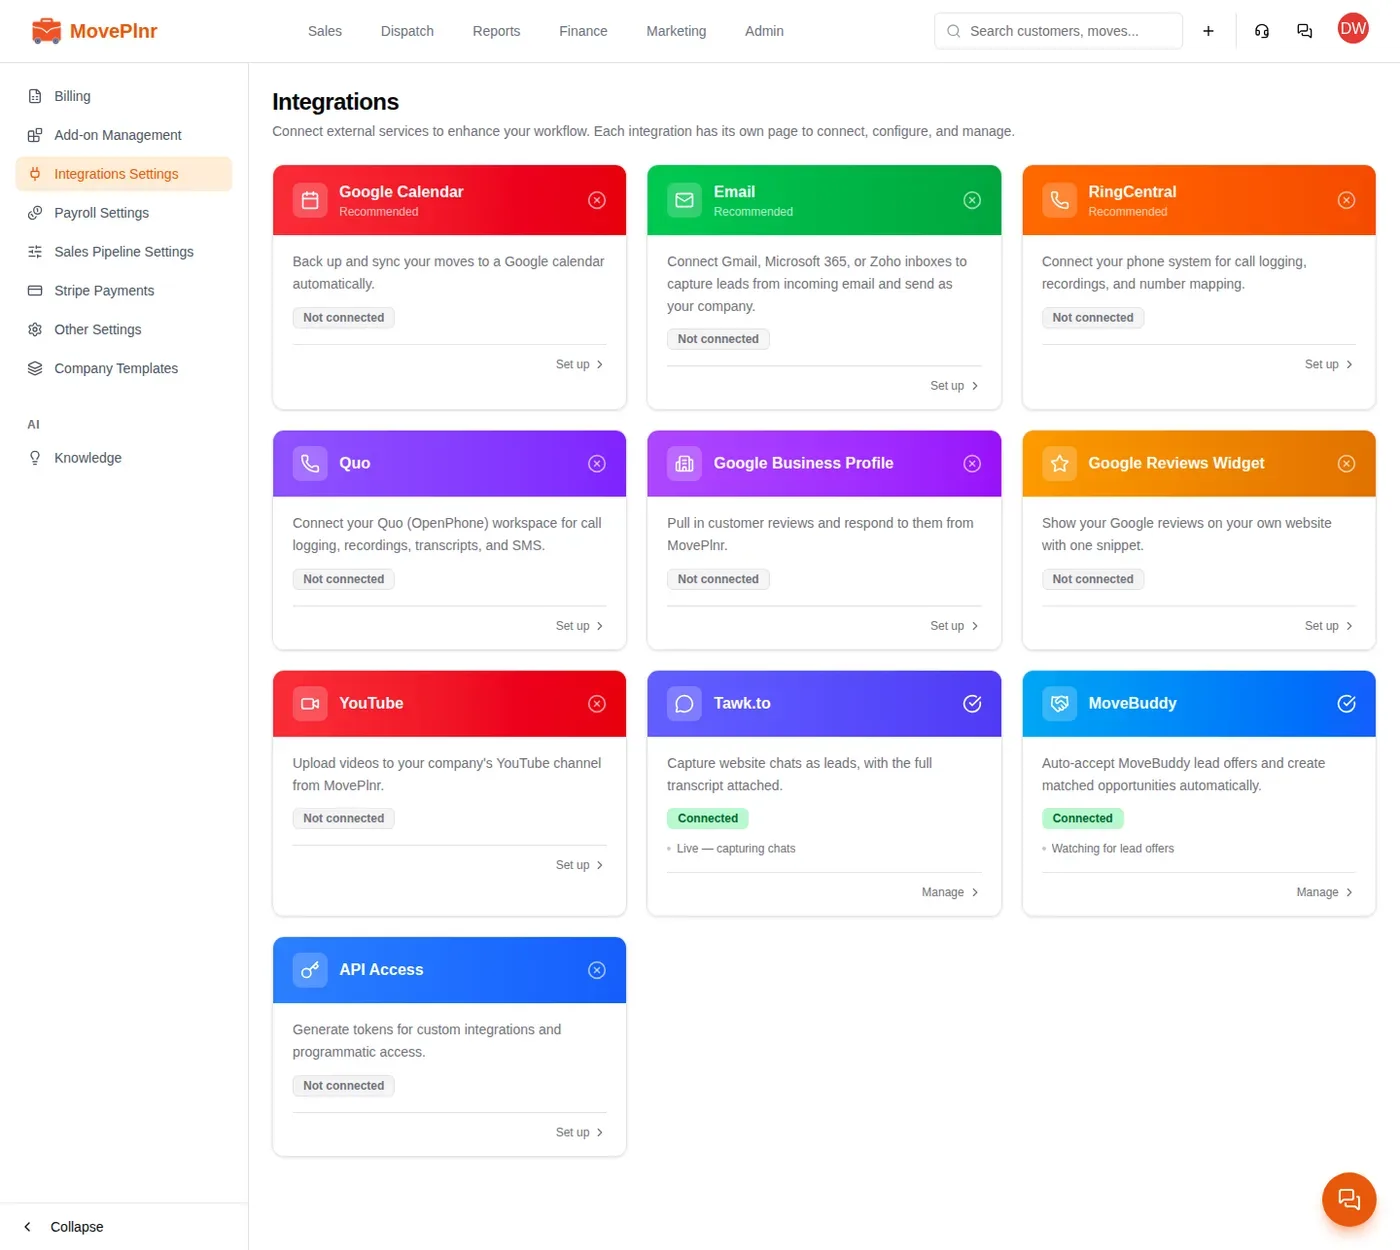
Every integration has a card on the Integrations page, and every card opens a page of its own where you connect it, change its settings or disconnect it.
- Connected means the integration is set up and working. A line or two under the badge says more, such as how many inboxes are connected or when the last lead came in.
- Not connected means nobody has set it up yet. The card’s footer says Set up instead of Manage.
- Recommended marks the integrations most companies start with: Google Calendar, Email and RingCentral.
Connect an integration
Most integrations connect by signing in to the other service. Google Calendar shows how it goes, and email, RingCentral, Quo and Google Business Profile follow the same pattern from their own pages.
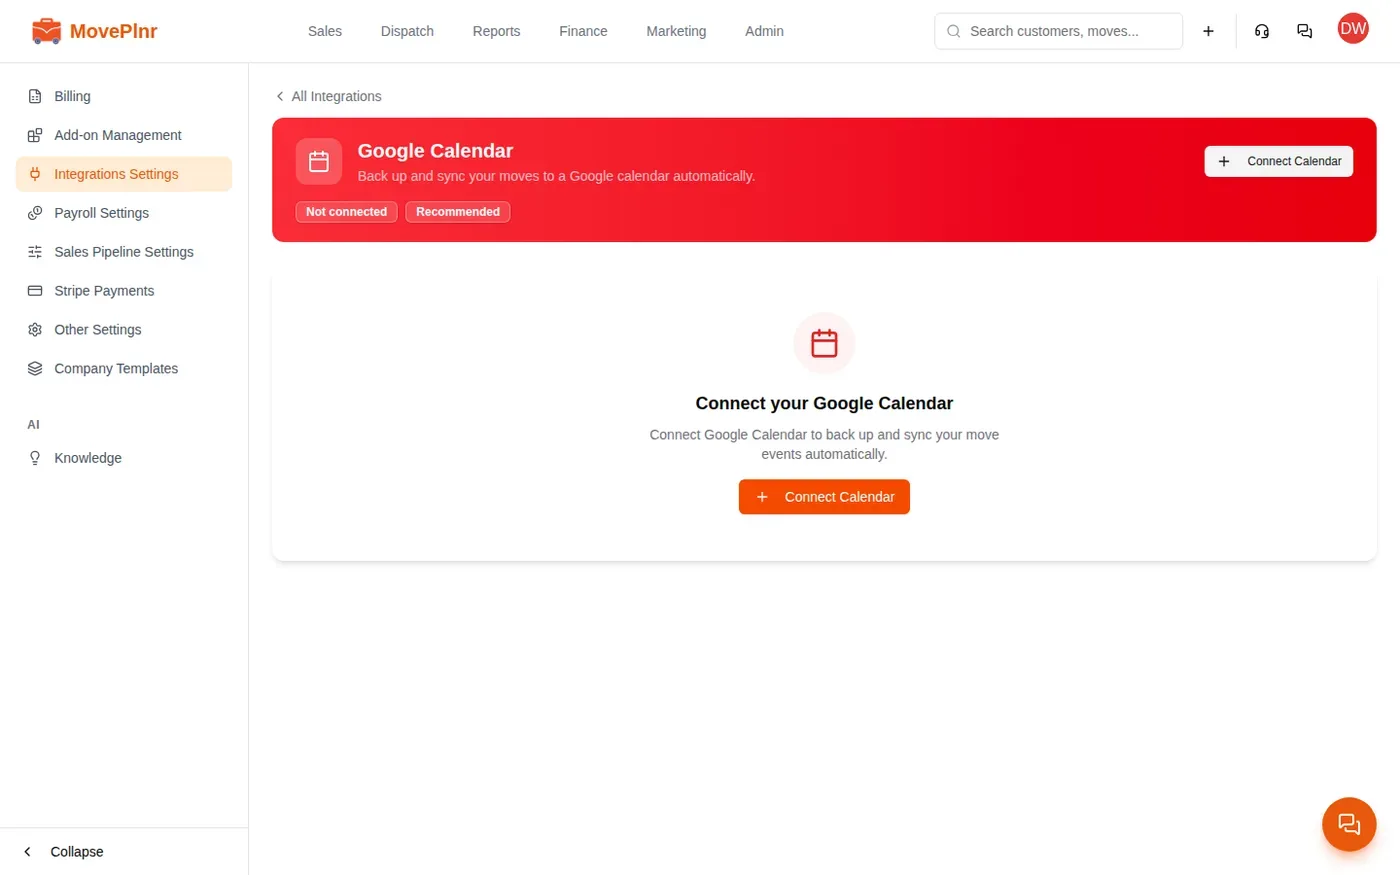
- On the Integrations page, choose the Google Calendar card.
- Choose Connect Calendar.
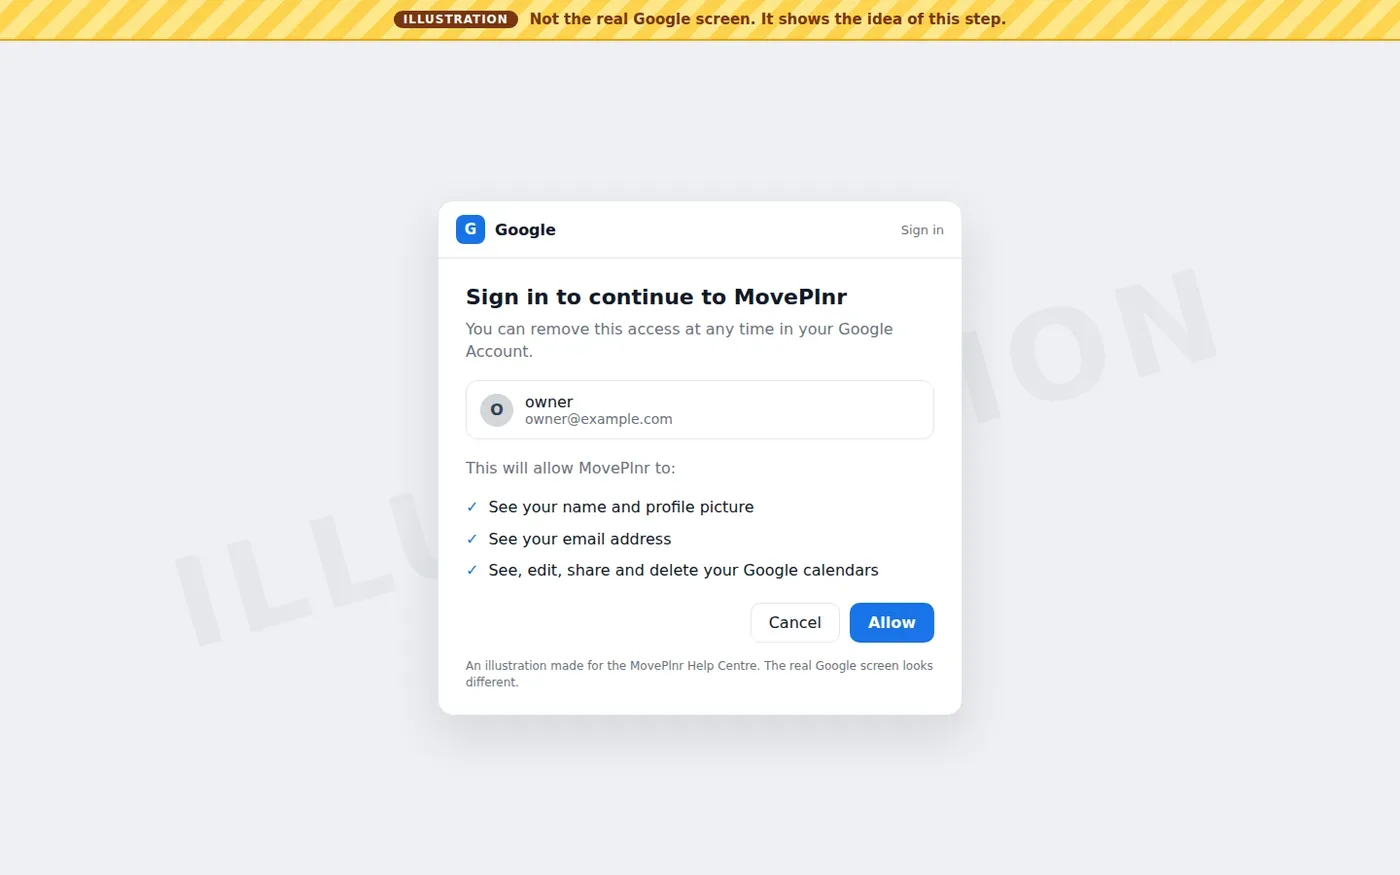
- Google opens in its own window. Pick the Google account that owns the calendar, check what MovePlnr asks for, and allow it.
- Back in MovePlnr, the page shows Connected and the calendar it syncs to. If you have more than one calendar, pick the primary one there.
You’ll see a Google screen like the illustration below. It is not a capture of Google: their real screen looks different, but it asks for the same things. For Google Calendar that is your name and profile picture, your email address, and access to your calendars, so MovePlnr can add and update your moves there.
Connect MoveBuddy leads
MoveBuddy needs no outside sign-in. When MoveBuddy emails a lead offer to your connected company inbox, MovePlnr replies to accept it. When the match email follows, MovePlnr creates one opportunity on your New Business pipeline with a MoveBuddy badge, the customer’s details, and both emails on its timeline.
- Connect a company inbox first, from the Email card. MoveBuddy reads its offers from there.
- Open the MoveBuddy card.
- Turn on Enabled.
- Leave Lead source on Automatic (MoveBuddy source), or pick one of your own lead sources.
- Choose Save changes.
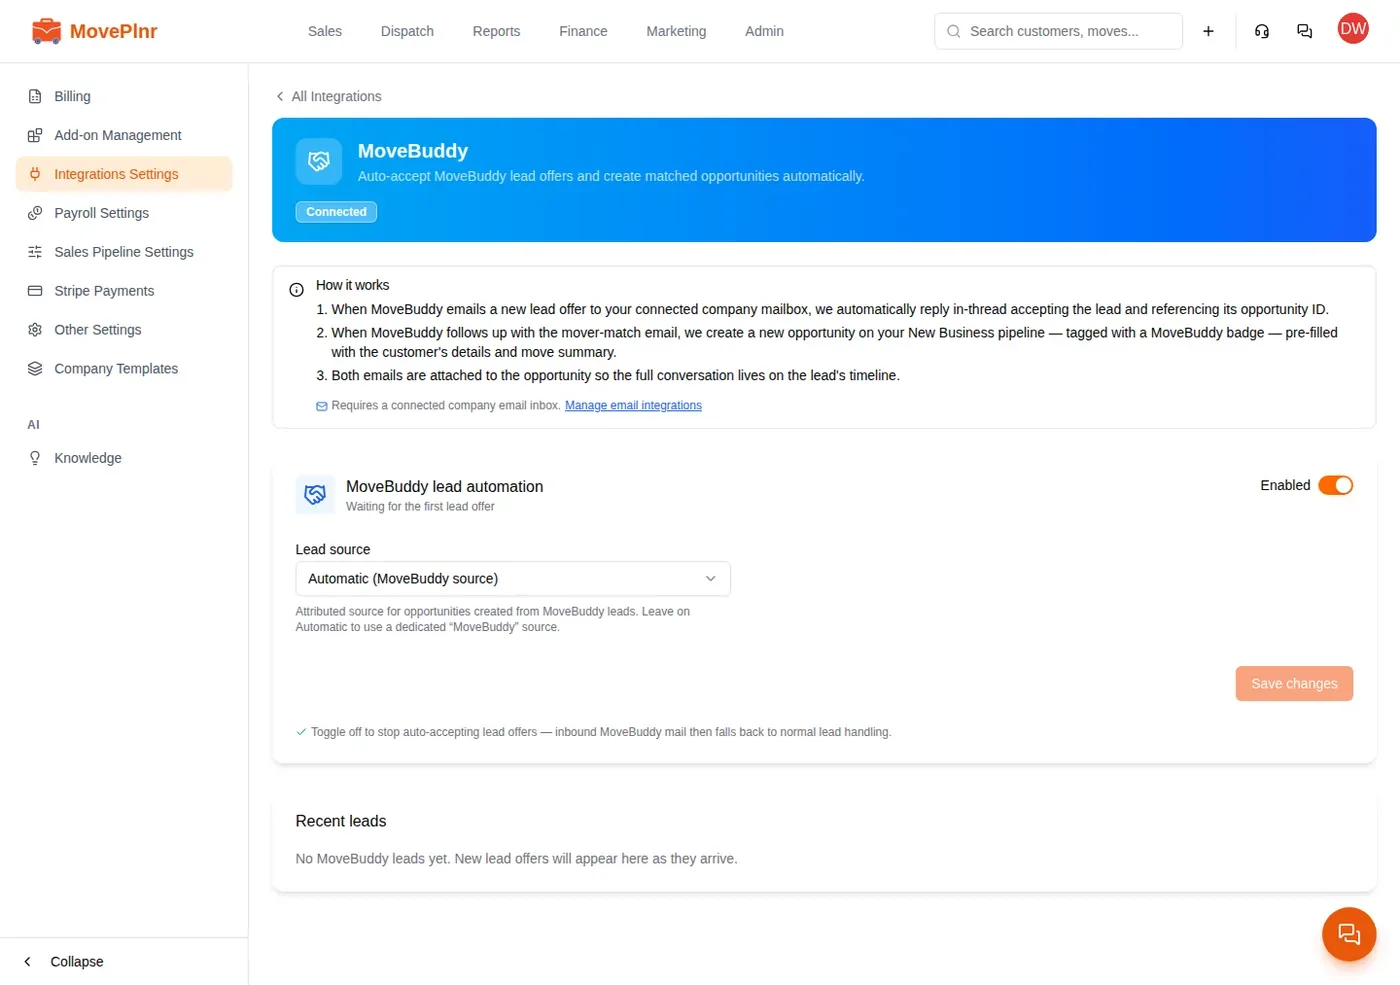
Recent leads lists every offer with its status and a link to the opportunity. Turn Enabled off to stop accepting offers: MoveBuddy emails then go through your normal lead handling.
Turn add-ons on and off
Add-ons are optional features. Each one shows up in its own place once it is on: a new menu item, a section on the move page, a settings page or an integration card.
- In Company Settings, choose Add-on Management. Each section card lists its add-ons and marks the ones that are On.
- Choose a section to open it.
- Turn an add-on’s switch on or off. The change applies to your whole company straight away.
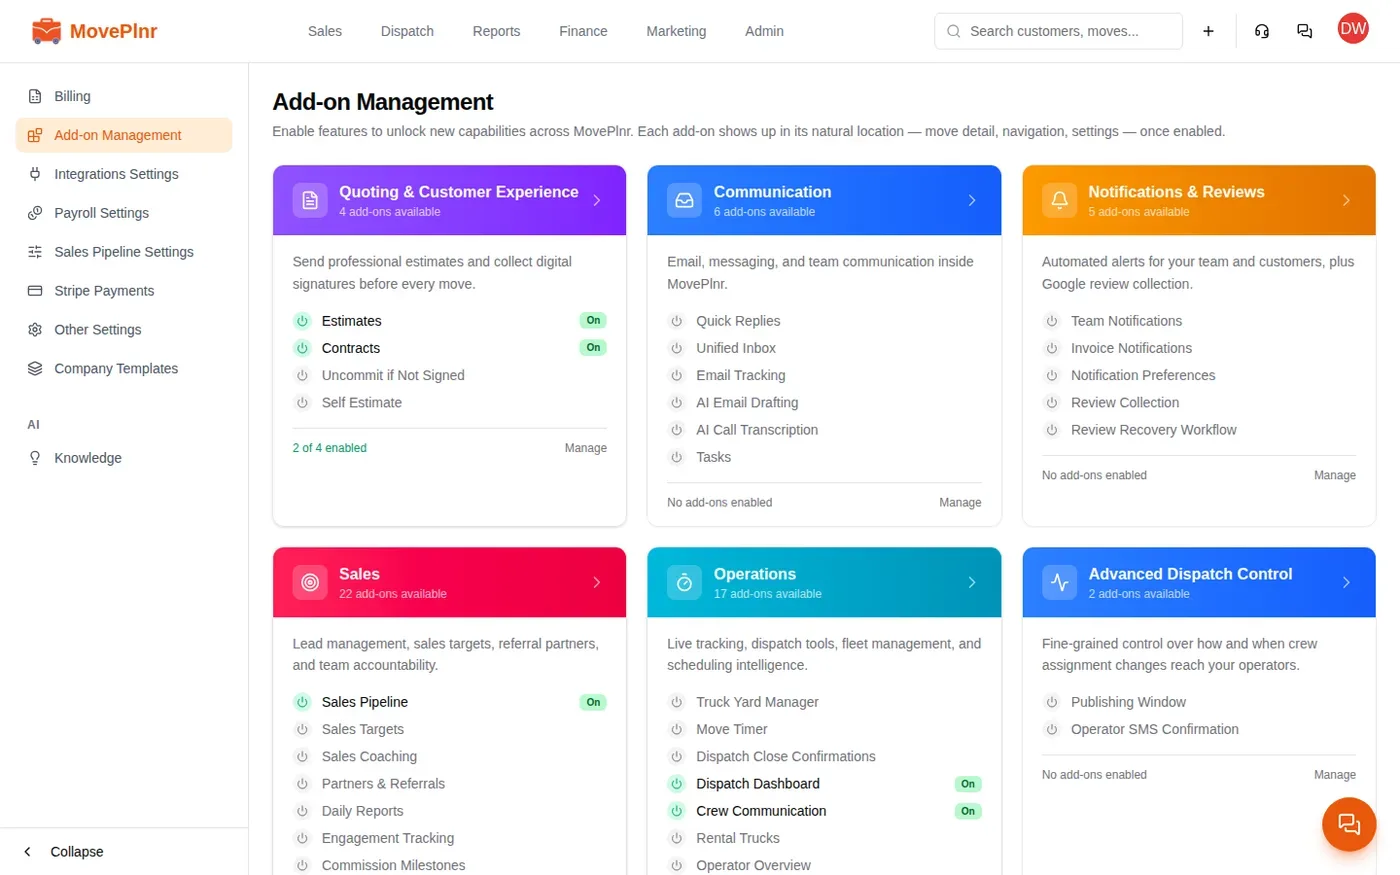
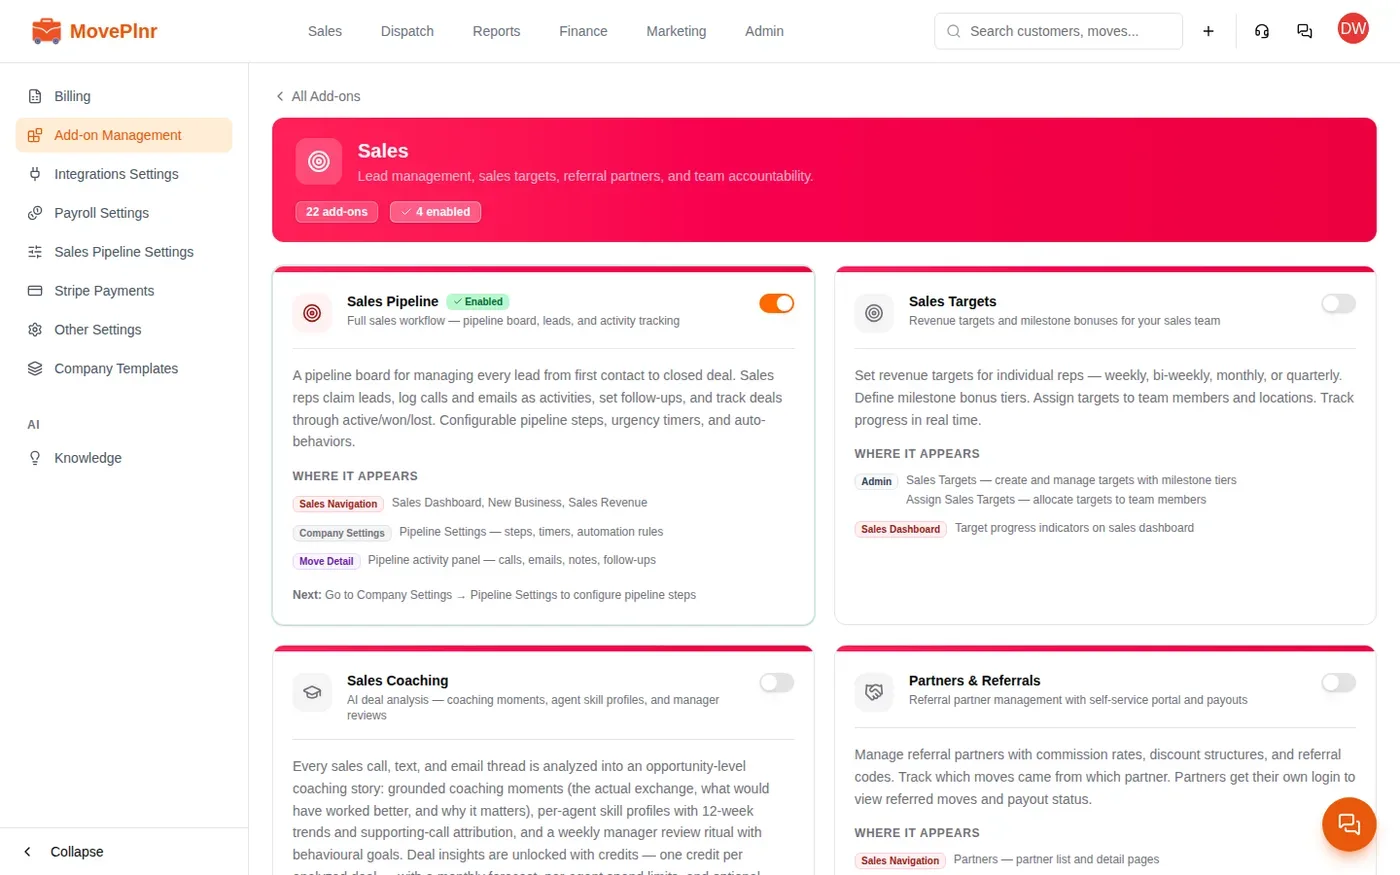
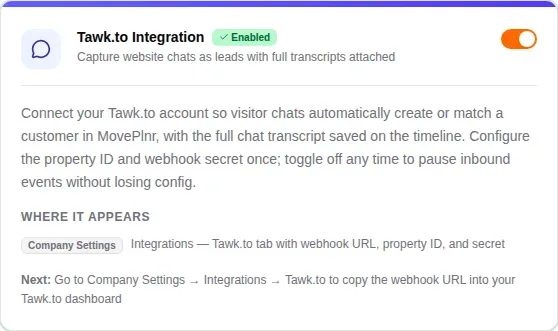
Once an add-on is on, its card adds a Next: line saying what to set up, often a page in Integrations Settings.
Add-ons that need another one first
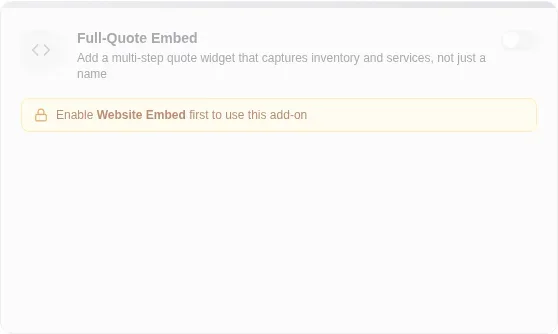
Some add-ons build on another. Until that one is on, the card is greyed out and names it. Google Ads Integration, for example, needs Source Attribution, which needs Lead Sources. Turn them on in that order and the Google Ads card appears in Integrations Settings, ready to connect.
When a card needs attention
A connection can stop working after it was set up: someone removes MovePlnr’s access in the other service, or a sign-in expires or is revoked. When MovePlnr finds out, the card on the Integrations page gets a red Needs attention badge next to its status, and the integration’s own page says what went wrong, with a way to connect it again.