
Before you start
YouTube is its own add-on. It needs no other add-on, not even Meta or the Social Media Manager. A company admin turns it on in Add-on Management, where YouTube is listed under Sales.
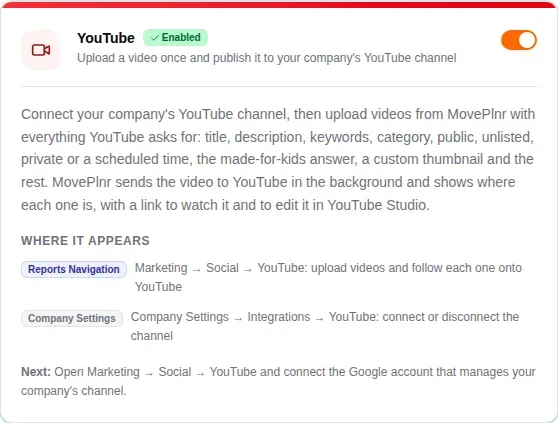
Company admins and marketing managers can connect the channel and upload videos. You also need the Google login that manages your company’s YouTube channel. If the channel belongs to a Brand Account, use a login that can upload to it.
Find YouTube in MovePlnr
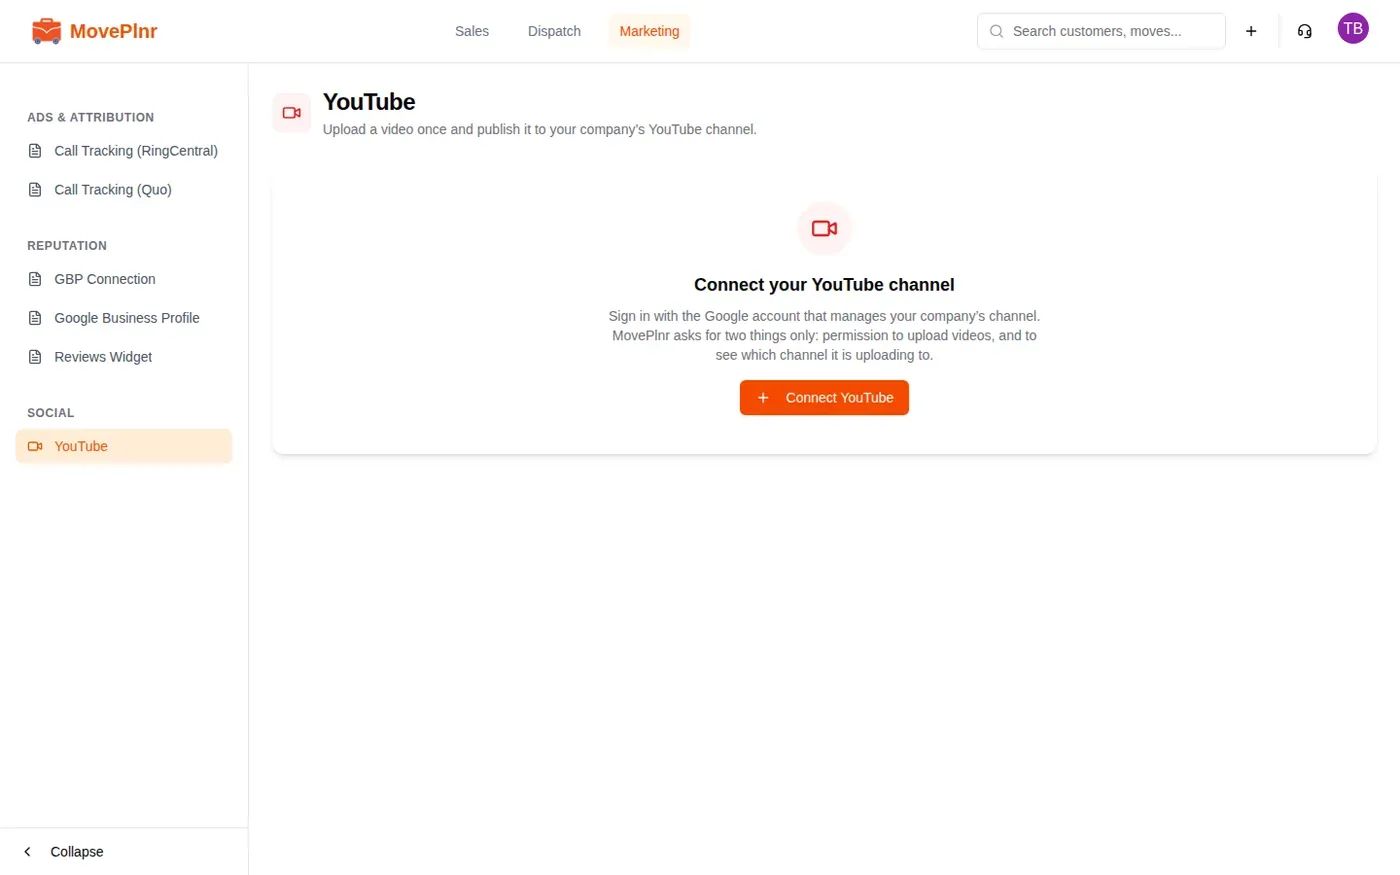
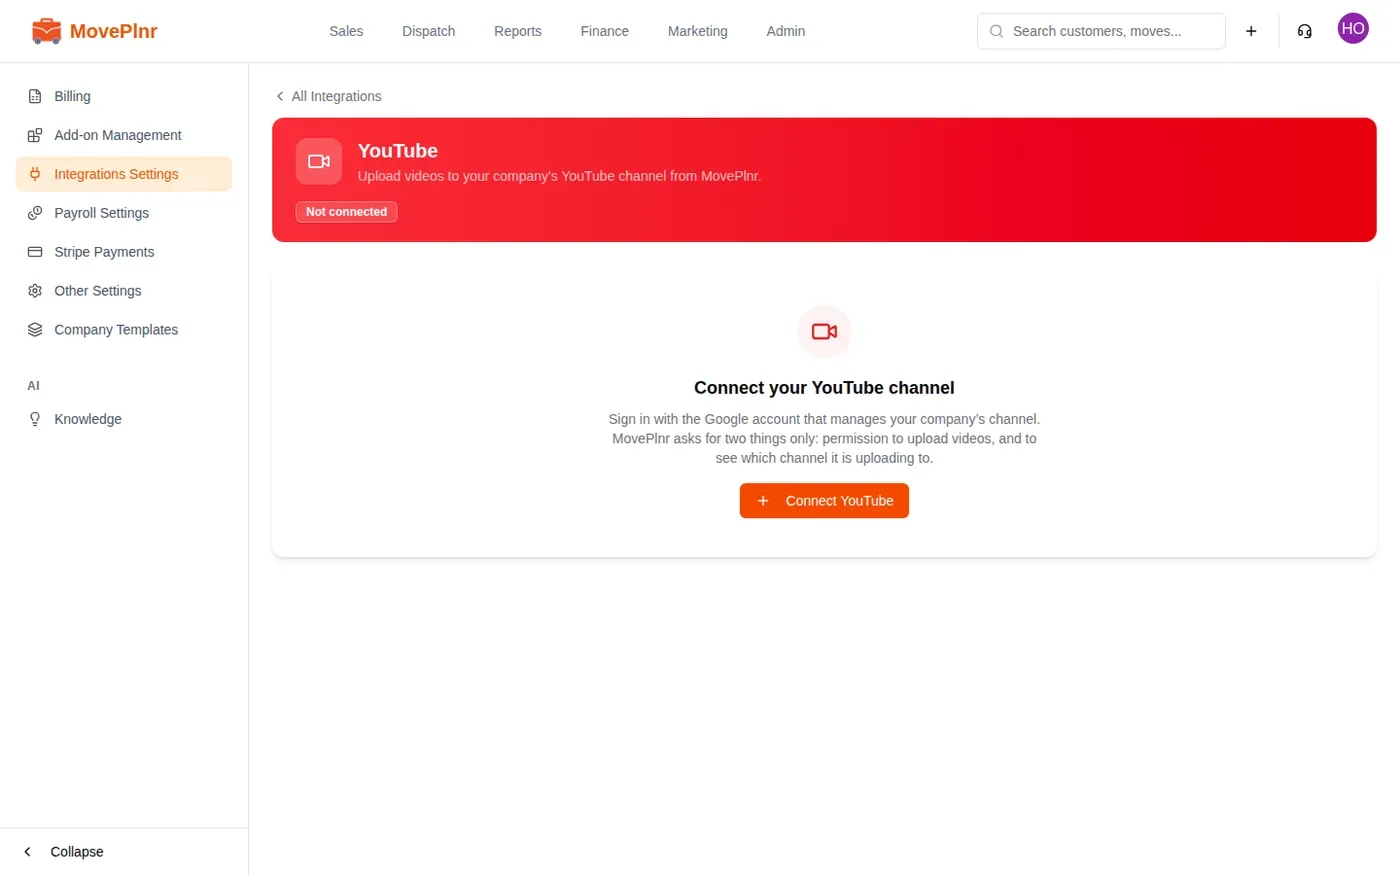
Marketing managers open YouTube from the Marketing menu, under Social. Admins also find it in Integrations Settings: click Set up on the YouTube card.
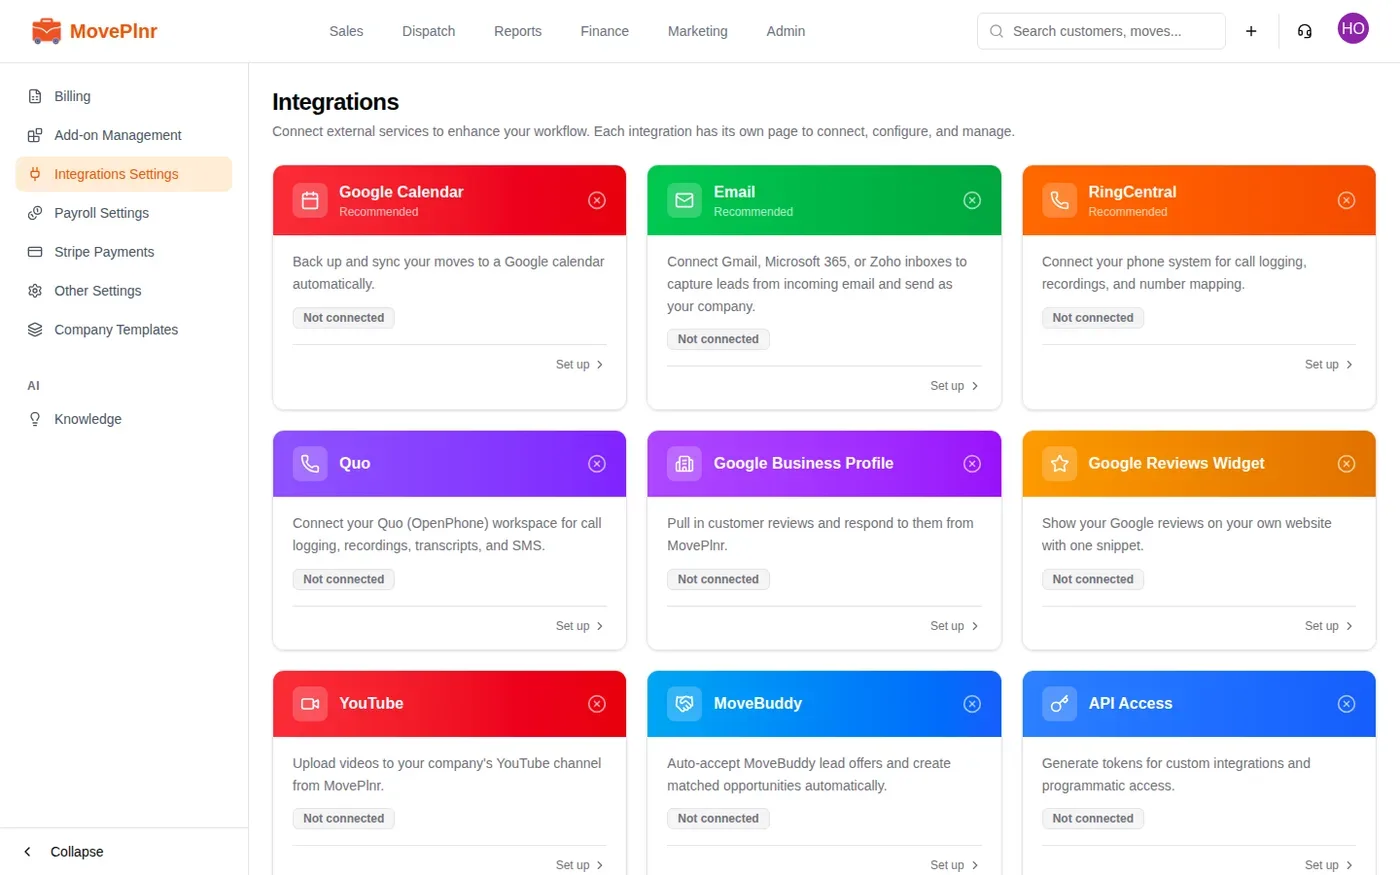
Both places show the same card until a channel is connected: Connect your YouTube channel and one button.
Connect your channel
- Click Connect YouTube.
- A Google window opens. Pick the Google login that manages your company’s channel.
- Google asks you to let MovePlnr upload videos to your YouTube channel and see your YouTube account. Click Allow.
- Back in MovePlnr, a message says which channel is connected.
You’ll see a Google screen like the illustration below. It is not a capture of Google’s site, and their own screen looks different.
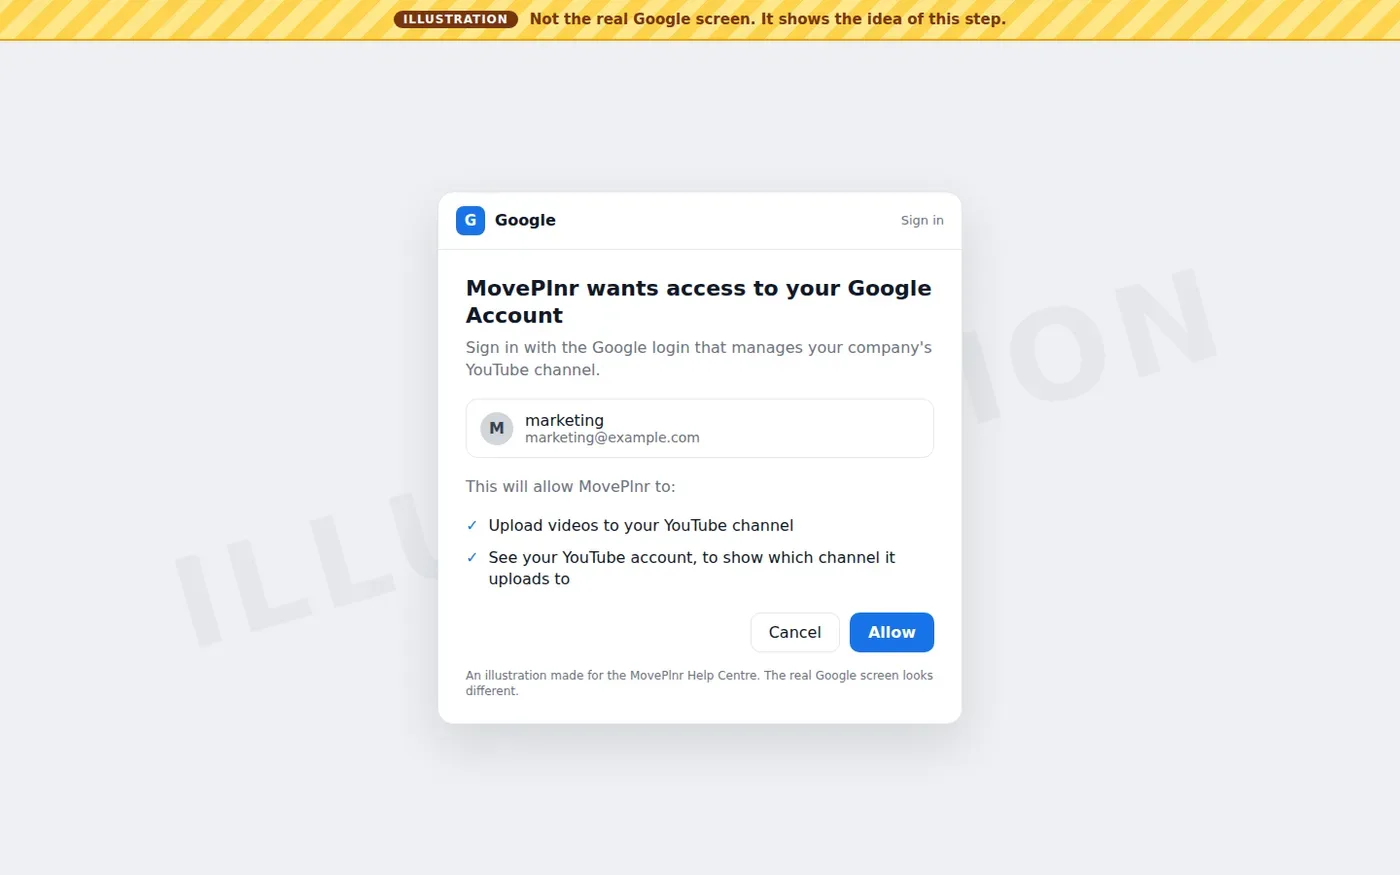
MovePlnr asks for those two permissions only. It can’t edit, delete or read anything else on your channel. If you untick one of them, MovePlnr can’t connect and asks you to allow both. If the login you picked has no YouTube channel, MovePlnr says so: pick the login, or the Brand Account, that owns your channel.
Once connected, the card at the top of the page shows the channel’s name and handle with a Connected badge, and three buttons: View channel, Switch channel and a red bin to disconnect. An Upload video button appears at the top right, and Your videos lists everything you send.
Upload a video
Click Upload video. The window asks for everything YouTube needs up front, because a video sent from MovePlnr can’t be changed from MovePlnr afterwards.
- Choose a video. MP4, MOV, WebM and the other formats YouTube accepts work, up to 4 GB. The title fills in from the file name.
- Change the title (up to 100 characters) and write a description. A line like 0:00 Intro in the description becomes a chapter on YouTube.
- Add keywords: type one and press Enter. Pick a category. People & Blogs is the default.
- Answer the audience question: is the video made for kids? YouTube requires an answer for every upload, so there is no default.
- Pick the visibility: Public, Unlisted, Private, or Schedule.
- Click Upload to YouTube. Keep the window open while the bar fills: that is the video going from your computer to MovePlnr.
| Visibility | Who can watch |
|---|---|
| Public | Everyone. It shows in search and on your channel. |
| Unlisted | Anyone with the link. Not in search or on your channel. |
| Private | Only you, and people you choose in YouTube Studio. |
| Schedule | Private until the time you pick, then public. Pick a time at least 15 minutes from now and within a year. The time is in your location’s time zone. |
More options
Open More options for the rest of YouTube’s settings:
- Thumbnail: a JPG or PNG, 1280 by 720 works best. Custom thumbnails need a verified channel. Without one, YouTube picks a frame from the video.
- Altered or synthetic content: say Yes when the video shows realistic people, places or events made or changed with AI or editing tools.
- Contains paid promotion, for a sponsorship or product placement someone paid for.
- Notify subscribers and Allow embedding, both on to start. Leave embedding on to play the video on your own website.
- License and Video language.
The Upload to YouTube button stays grey until everything is filled in. Point at it, or look under it, to see what is still missing.
Follow it onto YouTube
Once the file is with MovePlnr, the window closes and MovePlnr sends the video to YouTube in the background. You can leave the page. Your videos shows each one with its title, file, who sent it and when, its keywords and a status that updates by itself.
| Status | What it means |
|---|---|
| Waiting to send | MovePlnr has the file and sends it next. |
| Sending to YouTube | On its way, with a percentage. |
| Processing on YouTube | YouTube has it and is getting it ready. |
| Public, Unlisted or Private | Live on YouTube with that visibility. |
| Scheduled | Private until the date shown, then public. |
| Failed | MovePlnr could not send it. The reason is on the row, with a Retry button. |
| Rejected by YouTube | YouTube refused the video. |
| Removed from YouTube | Someone deleted it on YouTube. |
When a video is on YouTube, its row has Watch on YouTube and Edit in YouTube Studio. Use YouTube Studio for any change after the upload: the title, the thumbnail, the visibility or the end screens.
The bin on a row removes the video from this list only. The video stays on YouTube.
Private (locked by YouTube)
YouTube keeps every video private when it comes from an app YouTube has not finished reviewing, whatever visibility you picked. When that happens the row reads Private (locked by YouTube) and explains it. The video can’t be made public afterwards. If it needs to be public now, upload the same file in YouTube Studio.
Switch channel, reconnect or disconnect
- Switch channel signs in with Google again, so you can pick another login or channel.
- If Google stops accepting the connection, for example when someone removes MovePlnr from the Google account, the card shows a red badge and a Reconnect button. Click it and allow access again.
- The red bin disconnects YouTube. MovePlnr stops uploading to the channel and deletes what it stored from YouTube. Videos already on YouTube stay there. To remove MovePlnr from the Google account as well, use the link in the confirmation to open your Google account’s third-party access.