Before you start
Self-serve estimates need the Self Estimate add-on, which sits on top of the Estimates add-on and the estimator portal. An admin turns add-ons on for the company. Admins, sales reps, dispatchers and marketing managers can send a link. Estimators work the estimate once it comes back.
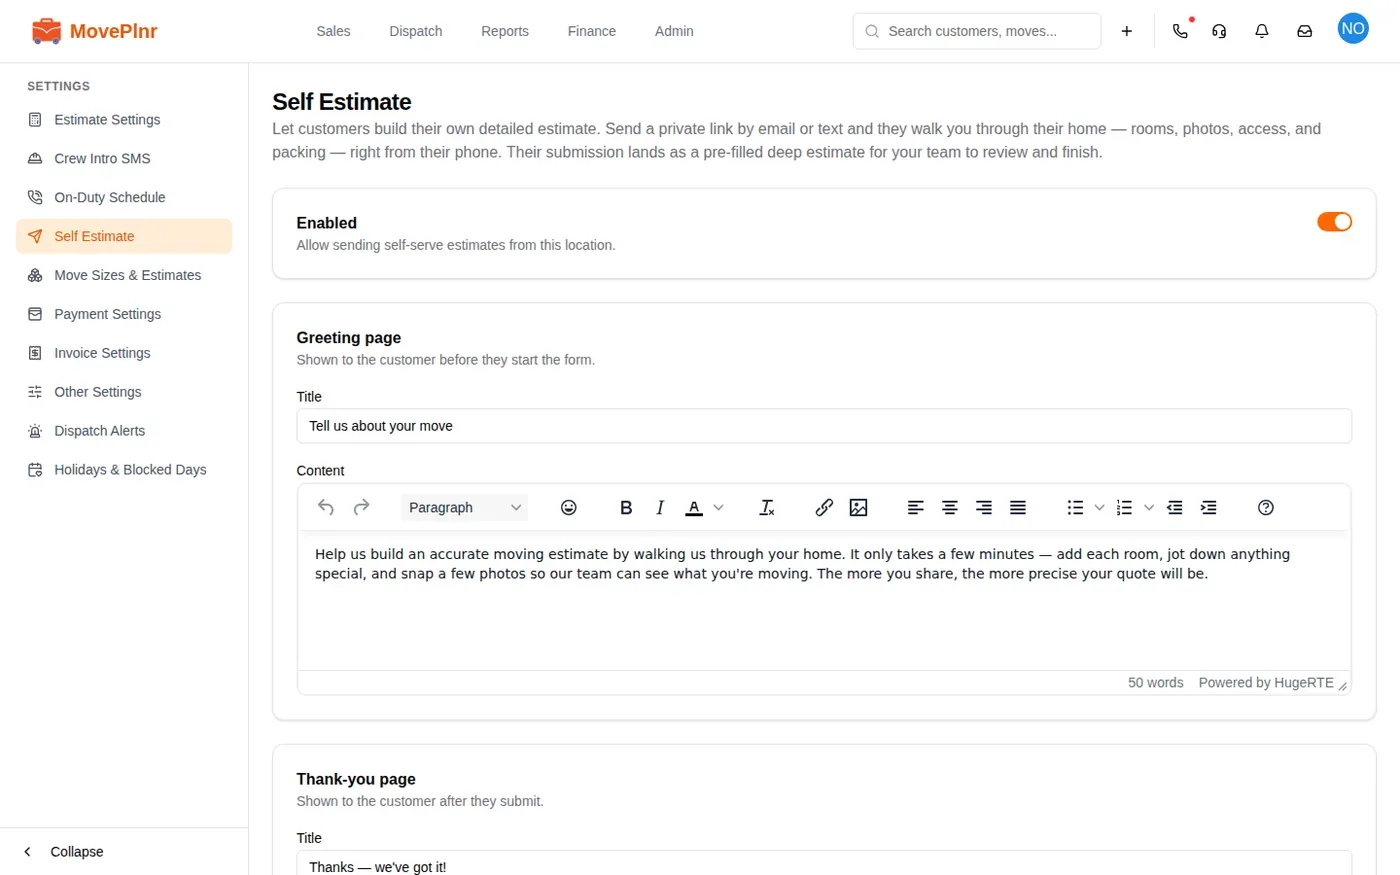
Set up the customer’s page
A company admin sets this up once for each location. Open Location Settings and click Self Estimate.
- Leave Enabled on to allow links from this location.
- Under Greeting page, write the title and the short note the customer reads before they start.
- Under Thank-you page, write what they see after they send their details.
- Check the Invitation email and the Invitation text. Both must keep the Self Estimate Link merge field, because that is the link the customer taps. Turn either one off if you never send by that channel.
- Click Save Self Estimate.
Send the link
The link goes out from the opportunity, once it has a deep estimate.
- Open the opportunity and click Move Services and Details.
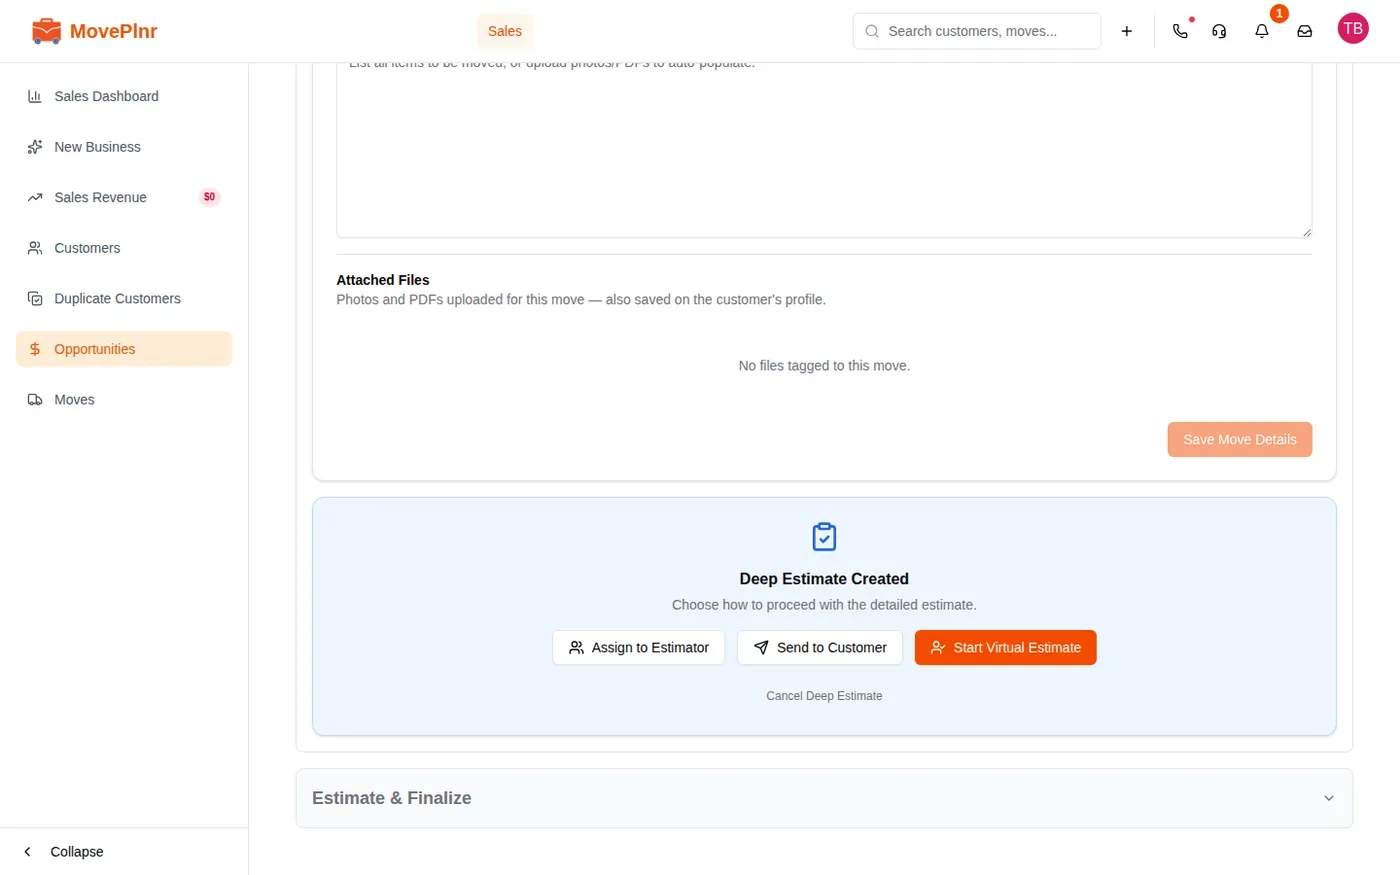
- Click Promote to Deep Estimate if you haven’t already. The card then reads Deep Estimate Created.
- Click Send to Customer.
- Tick Email, Text or both. The customer’s address and number are already filled in.
- Click Send Link.
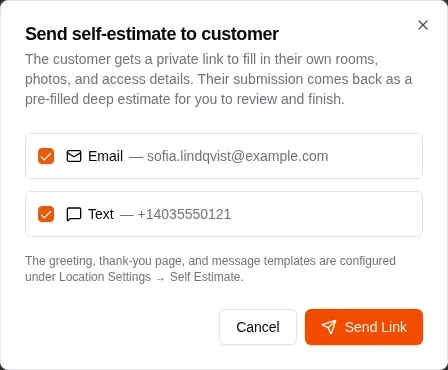
A channel can’t be ticked when the customer has no email or phone number on file, or when that channel is turned off for the location. The window says which one it is.
While you wait
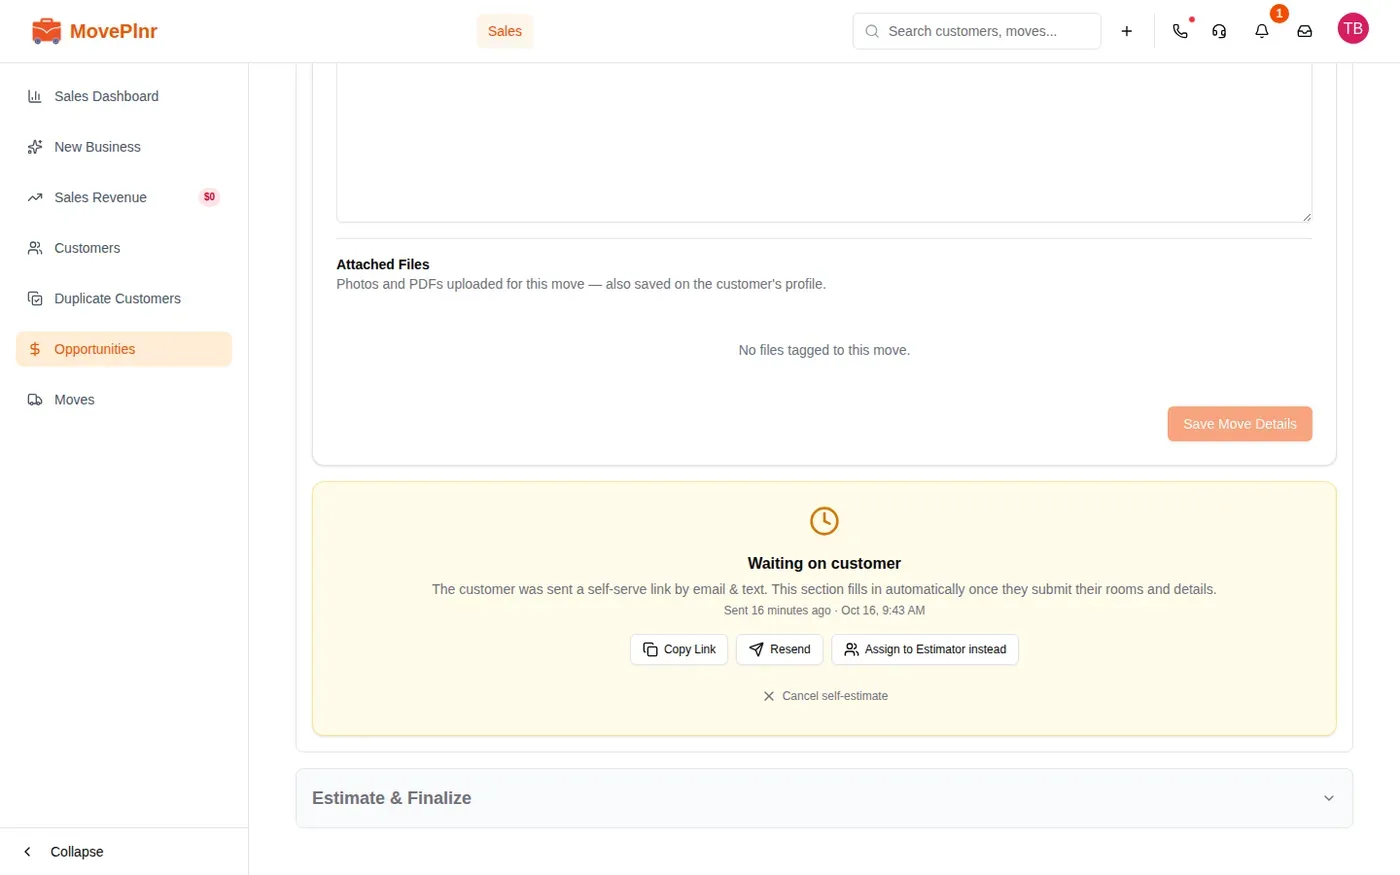
Once the link is out, the card reads Waiting on customer, with when it was sent and how.
- Copy Link copies the customer’s link, to paste into a chat or an email of your own.
- Resend sends it again by the same email or text.
- Assign to Estimator instead books an estimator if the customer would rather have a visit.
- Cancel self-estimate stops the link working and takes the card back to the start, so you can send it again or assign an estimator.
What the customer fills in
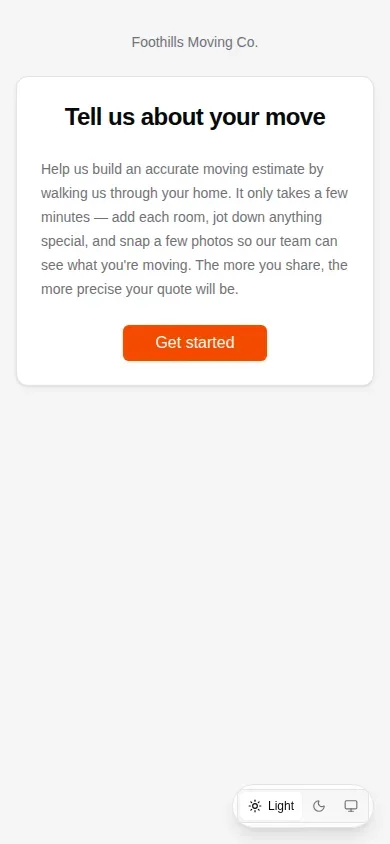
The customer opens the link on their phone or computer. There is nothing to sign in to. They see your company name and your greeting, then tap Get started.
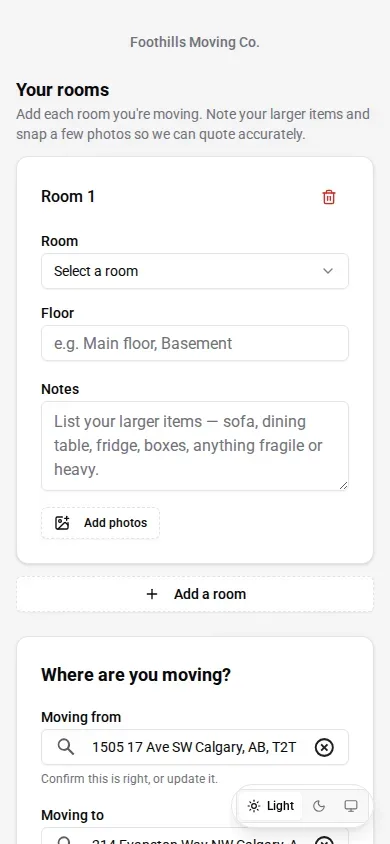
On one page they give you:
- Your rooms: each room with its floor, a note of the larger items, and photos. They tap Add a room for each one.
- Where are you moving?: the pickup and drop-off you have on file, to confirm or change, and Add a stop for anywhere else on the way.
- When are you moving?: the move date, filled in when you already have one. Days your location has blocked can’t be picked.
- Home details: the square footage, the bedrooms or layout, and how they want packing handled.
- Access: flights of stairs, an elevator and notes for each end, like parking or a gate code.
- Anything else?: whatever else you should know.
Then they tap Submit my details and see your thank-you page.
When the customer submits
You know straight away:
- The person who sent the link gets a notification that the self-estimate is in.
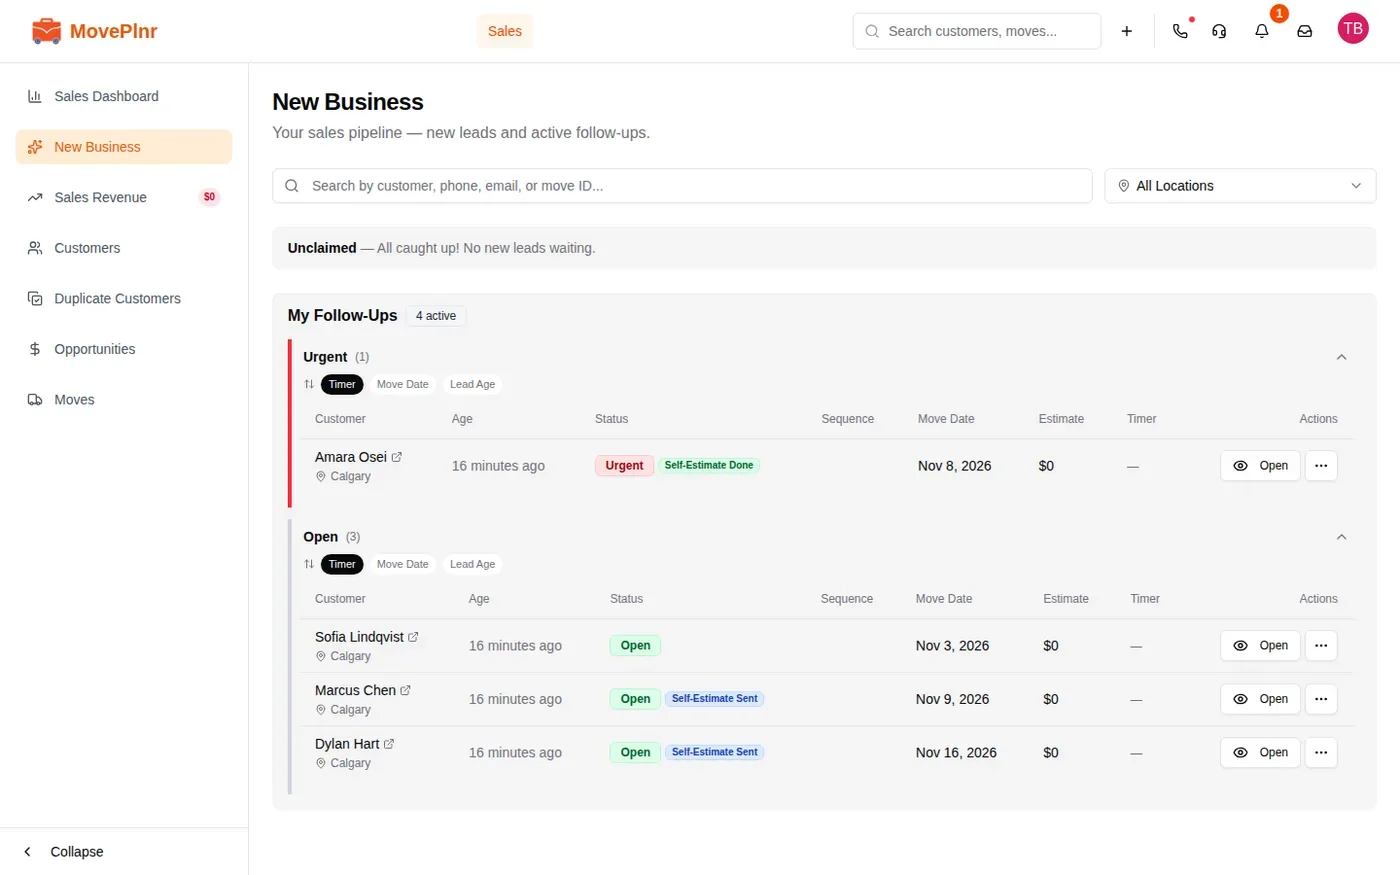
- On New Business, the badge changes from Self-Estimate Sent to Self-Estimate Done, and the opportunity moves up to Urgent.
The customer’s answers are already saved on the move:
- A new move date, the drop-off and any extra stops replace what was on the opportunity, in the location’s time zone.
- The square footage and the layout fill in Move Services and Details.
- The access notes, the packing choice and their own notes show under Intake details, at the top of the opportunity.
- Their photos are saved to the customer’s files and to the move. MovePlnr also reads the photos and adds a list of the furniture it sees to each room’s notes.
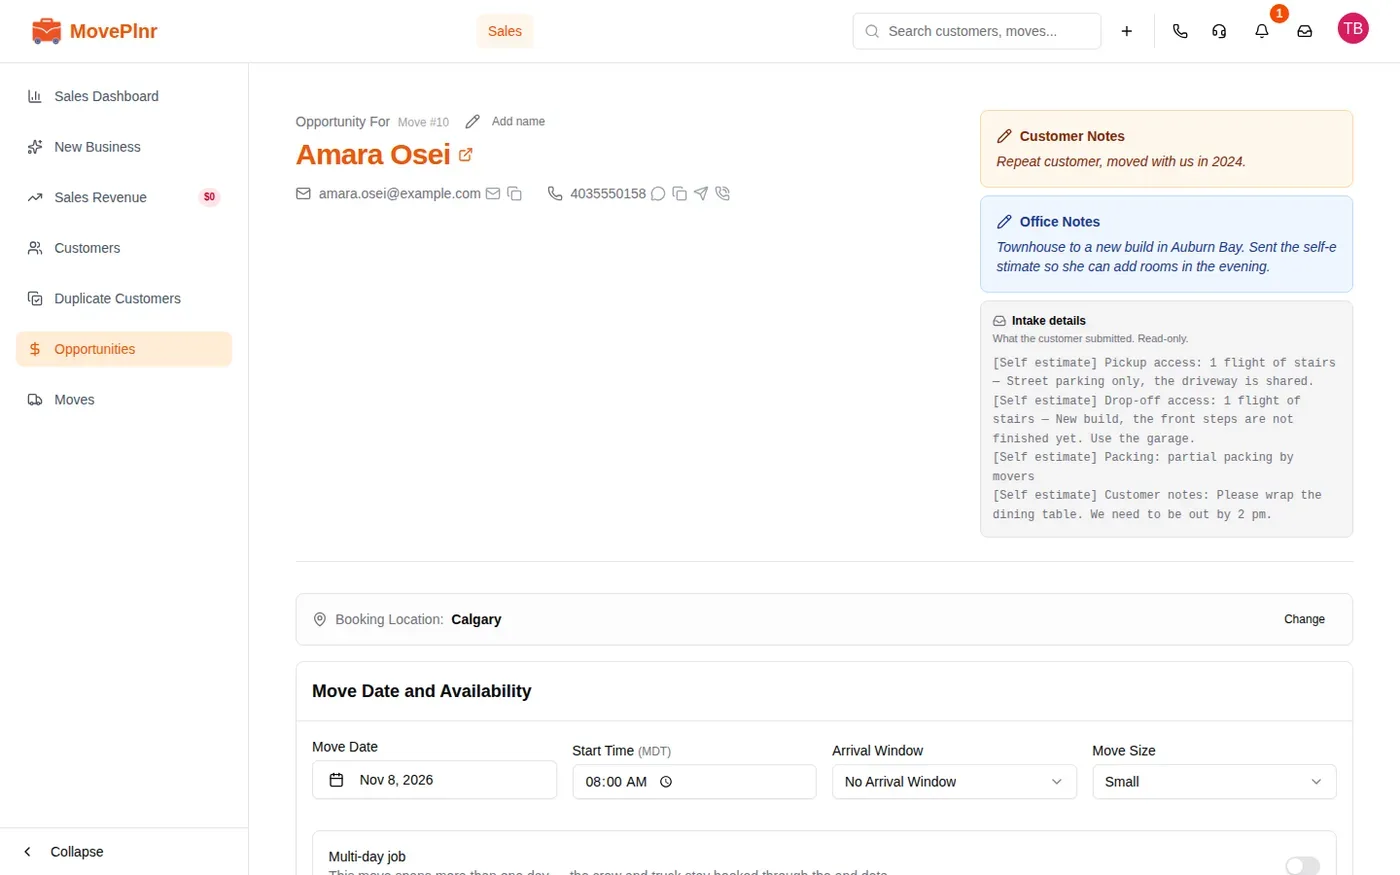
Review and finish the estimate
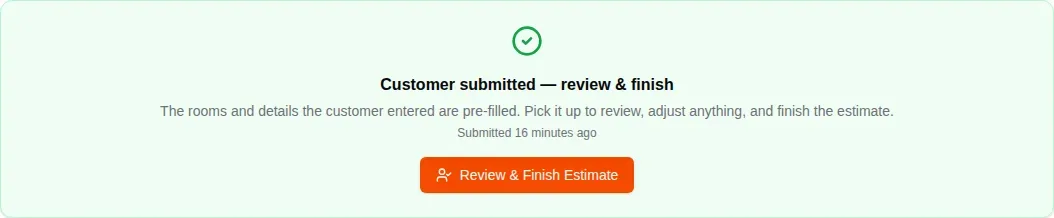
Open Move Services and Details on the opportunity. The card says the customer submitted, and shows any photos they sent.
- Click Review & Finish Estimate. The estimate is now yours, and the customer’s rooms open already filled in.
- Check each room. Change anything that looks off, or add a room they missed.
- Finish the estimate as you would a virtual one: the hours, the crew and the trucks.
- Go on to Estimate & Finalize to price it and send it.