Before you start
The Inbox is an add-on. Once an admin turns it on, the tray icon at the top right of every page opens it. It works for admins, sales reps, dispatchers and marketing managers.
The Inbox fills from the lines and mailboxes you connect:
- Texts and calls come from one phone system per company: RingCentral or Quo. No phone system? Ask support about a local texting line for your company: texts go out from it, replies land in the Inbox, and missed calls forward to your phone with a transcribed voicemail.
- Email comes from the Gmail, Microsoft 365 or Zoho Mail inboxes your team connects.
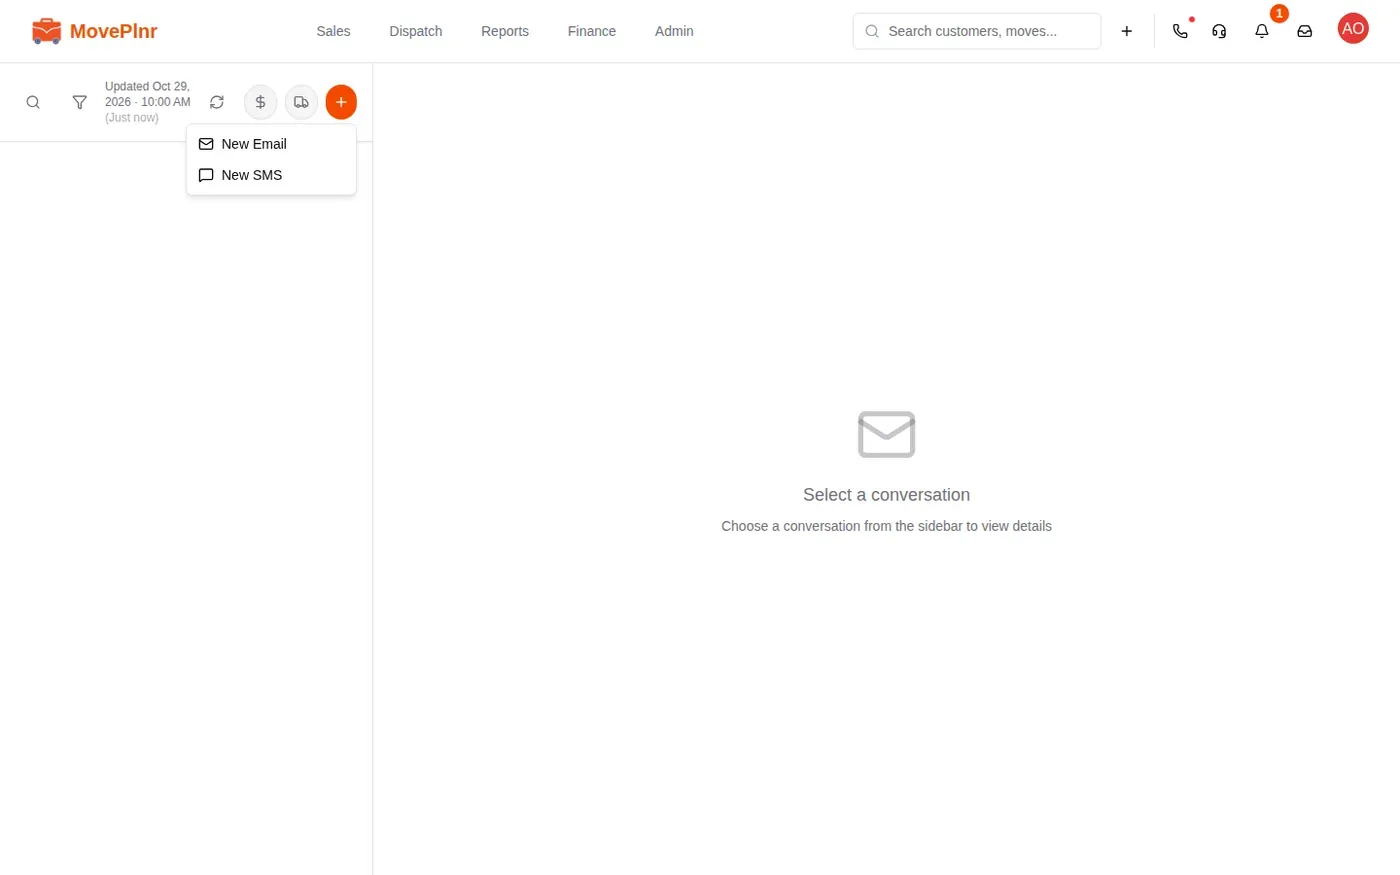
Until something is connected, the Inbox has nothing to show. Its + button still offers New Email and New SMS, and each one asks you to connect a mailbox or a line first.
Connect your phone line
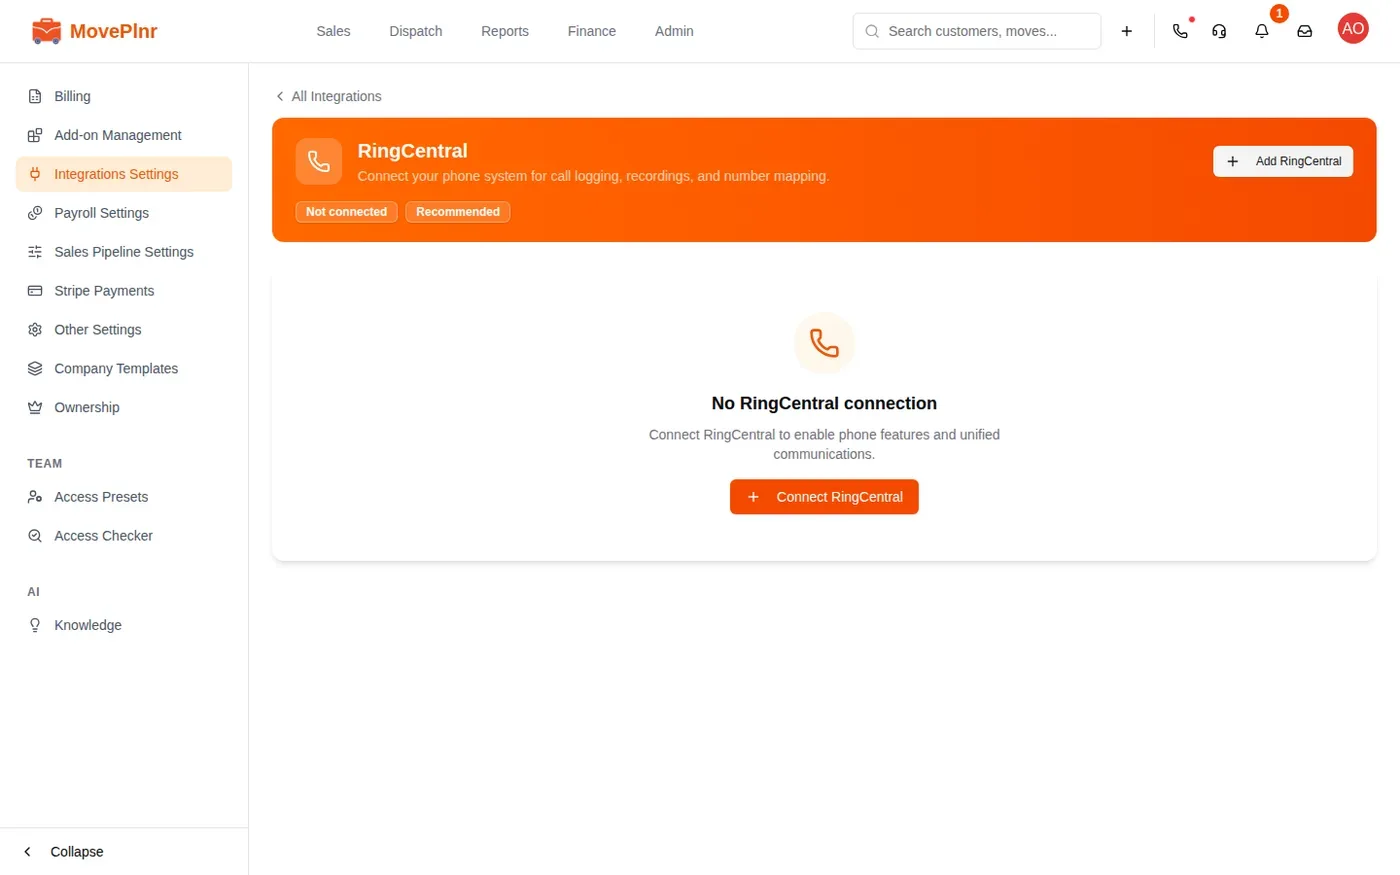
An admin connects the company’s phone system once, under Admin, Integrations. Pick the one your company uses. MovePlnr takes one phone system per company, so disconnect the old one before you switch.
RingCentral
- Open the RingCentral integration and click Connect RingCentral.
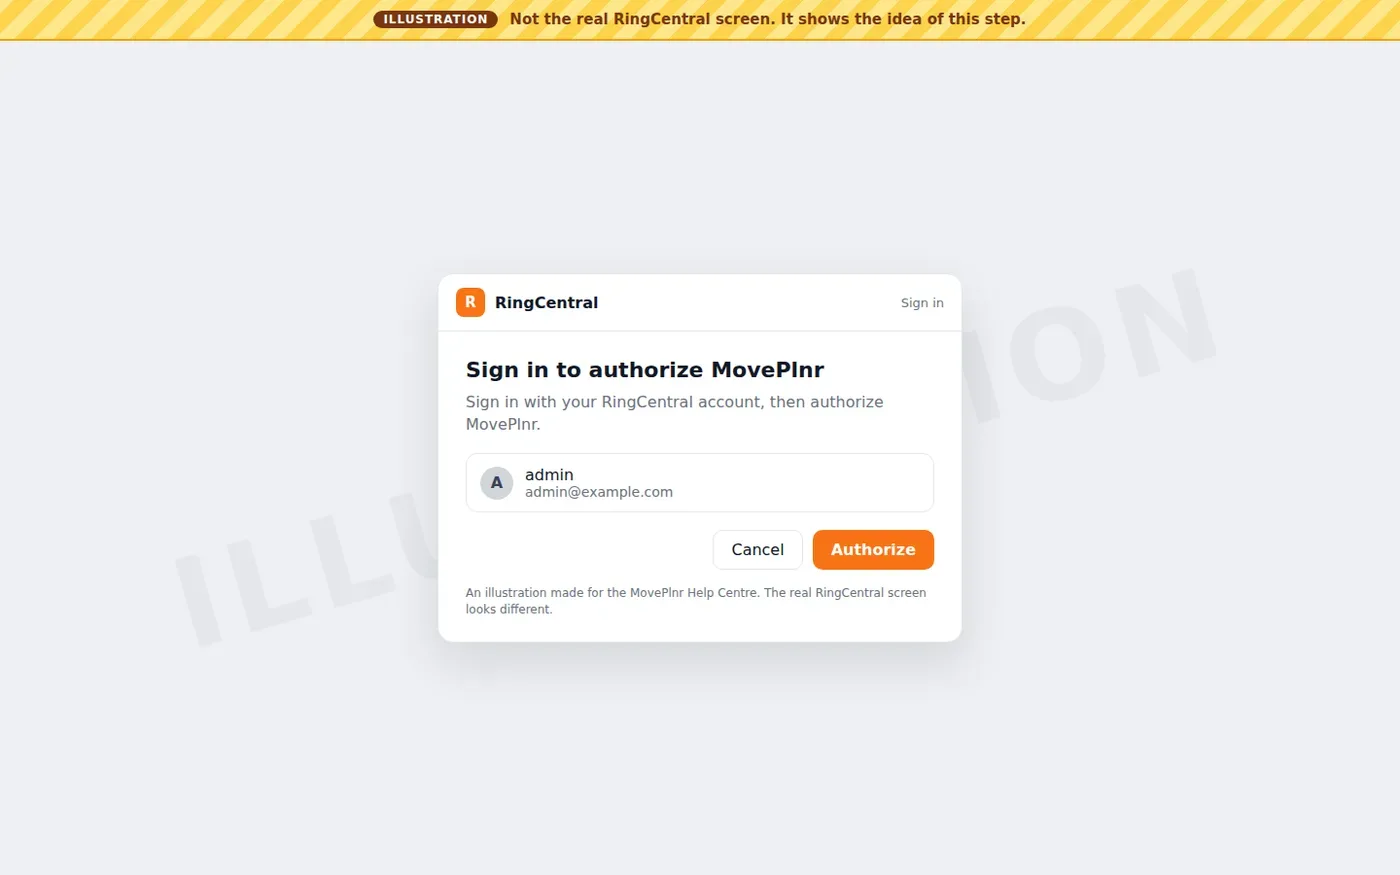
- A RingCentral window opens. Sign in and authorize MovePlnr.
- Back in MovePlnr, map your RingCentral numbers to the people and locations that use them.
You’ll see a RingCentral sign in screen like the illustration below. Their real screen looks different.
Once connected, the page shows your account and its main number, with buttons to map numbers, sync, and resubscribe. Calls and texts arrive in real time. If they stop showing up, an admin clicks Resubscribe Webhook on this page to renew the connection that delivers them.
Quo
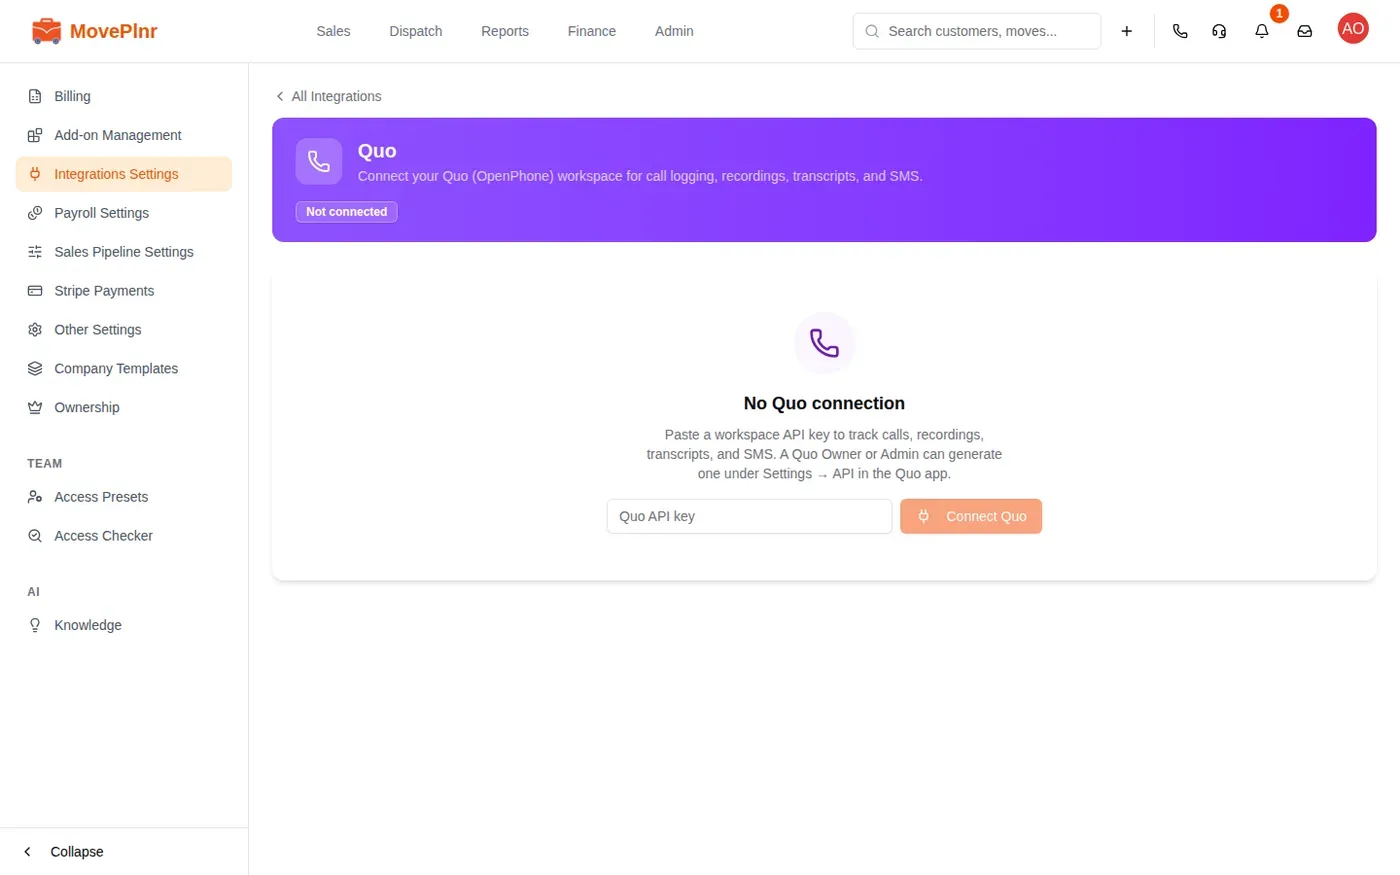
Quo connects with a key instead of a sign in.
- In the Quo app, a Quo Owner or Admin creates an API key under Settings, API.
- In MovePlnr, open the Quo integration, paste the key and click Connect Quo.
- Map your Quo numbers to the people and locations that use them.
Connect your email
Email has one settings page for every provider. An admin connects the company’s shared inboxes there, and each person can connect their own.
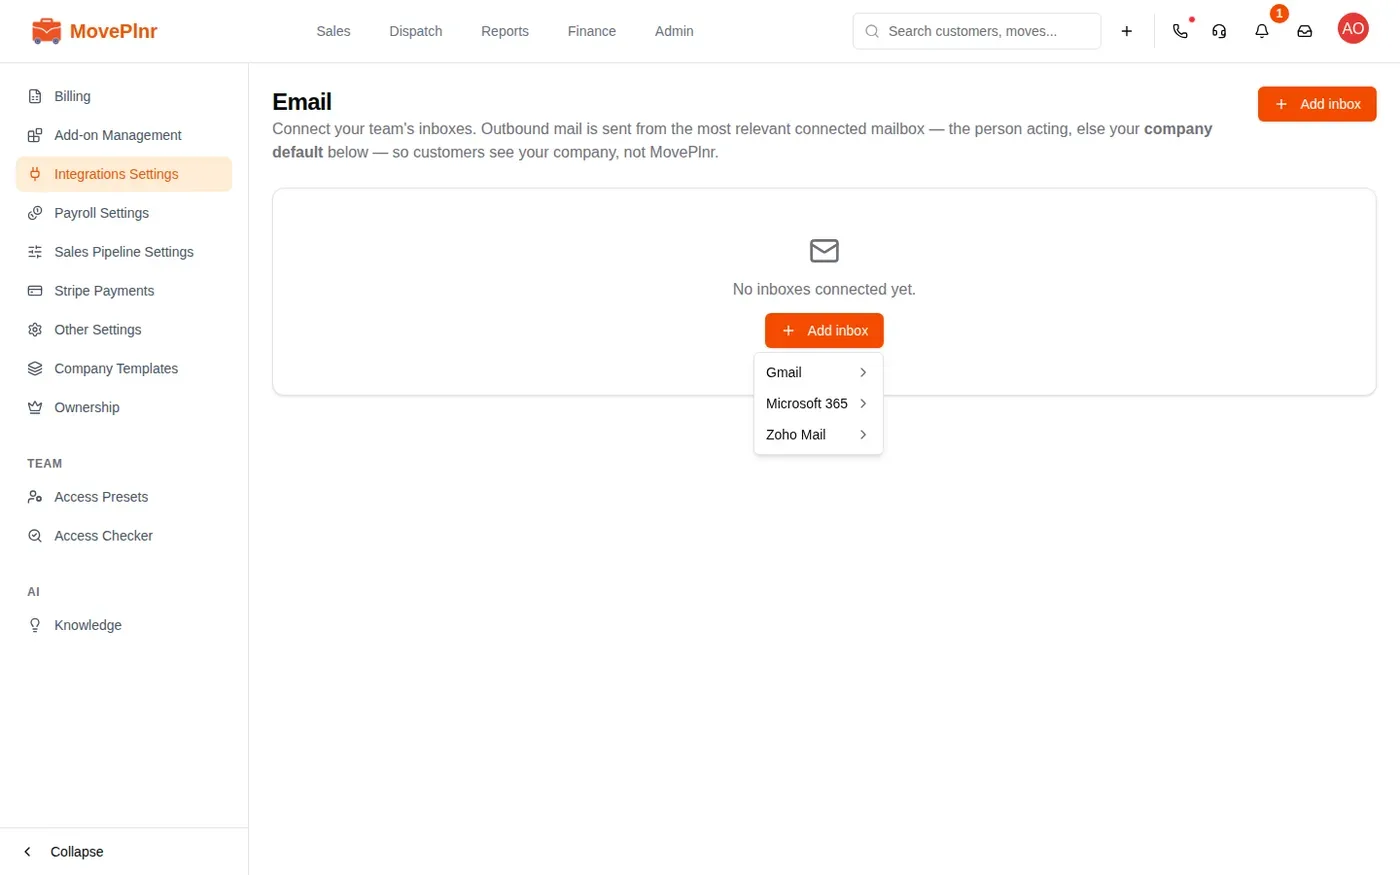
- Open Admin, Integrations, then the Email integration.
- Click Add inbox and pick Gmail, Microsoft 365 or Zoho Mail.
- Sign in with that mailbox and allow MovePlnr to use it.
- Back in MovePlnr, the inbox joins the list. Choose which one is the company default for outgoing mail.
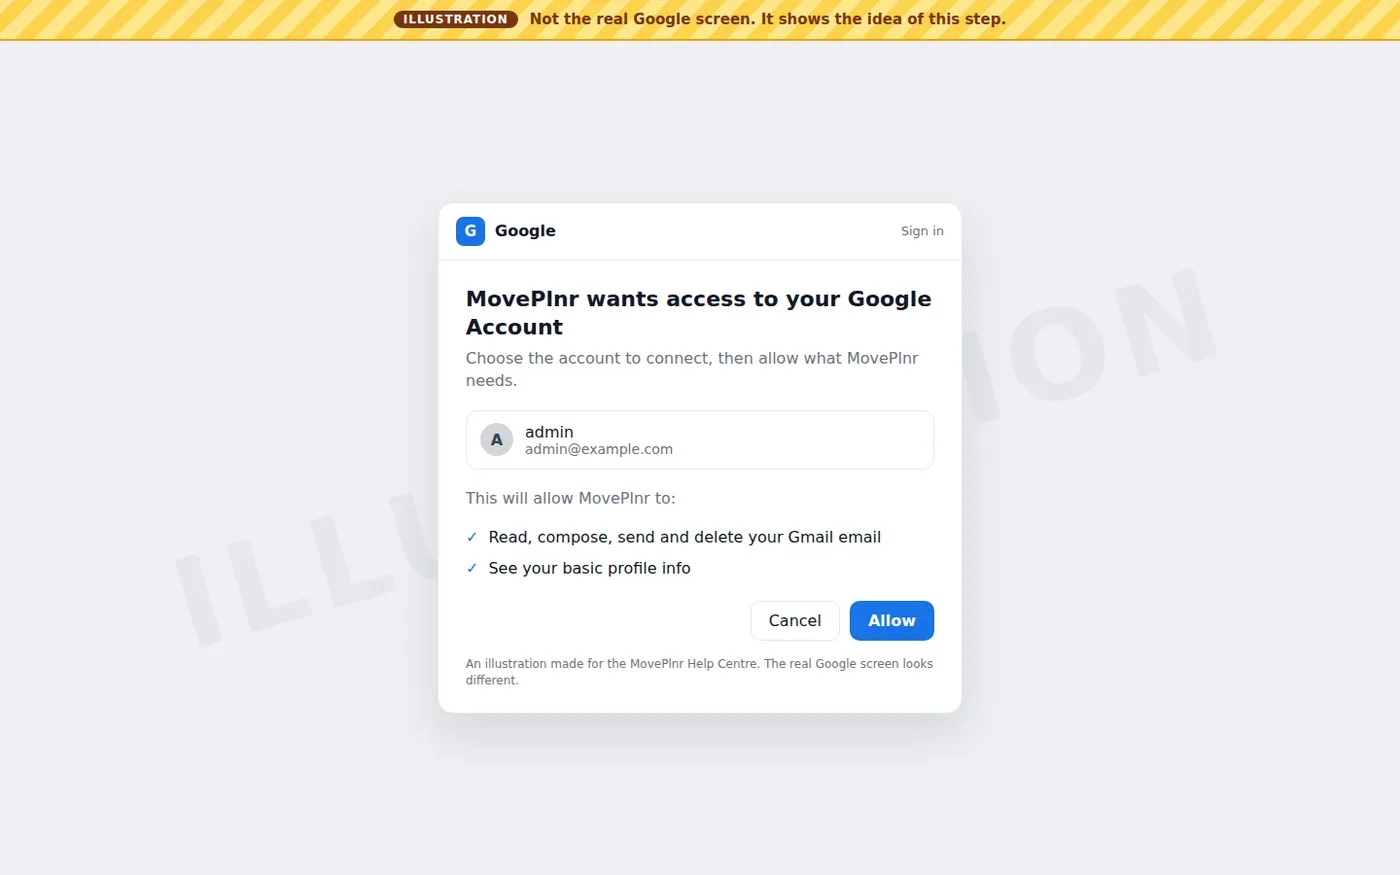
You’ll see a Google screen like the illustration below when you connect Gmail. Their real screen looks different. MovePlnr asks Google for access to read and send mail from that inbox, and for your basic profile.
Microsoft 365 and Zoho Mail open their own sign in pages the same way. Mail you send from MovePlnr goes out from the most relevant connected inbox: yours if you connected one, otherwise the company default. Customers see your company’s address, not MovePlnr’s.
Connect your own inbox
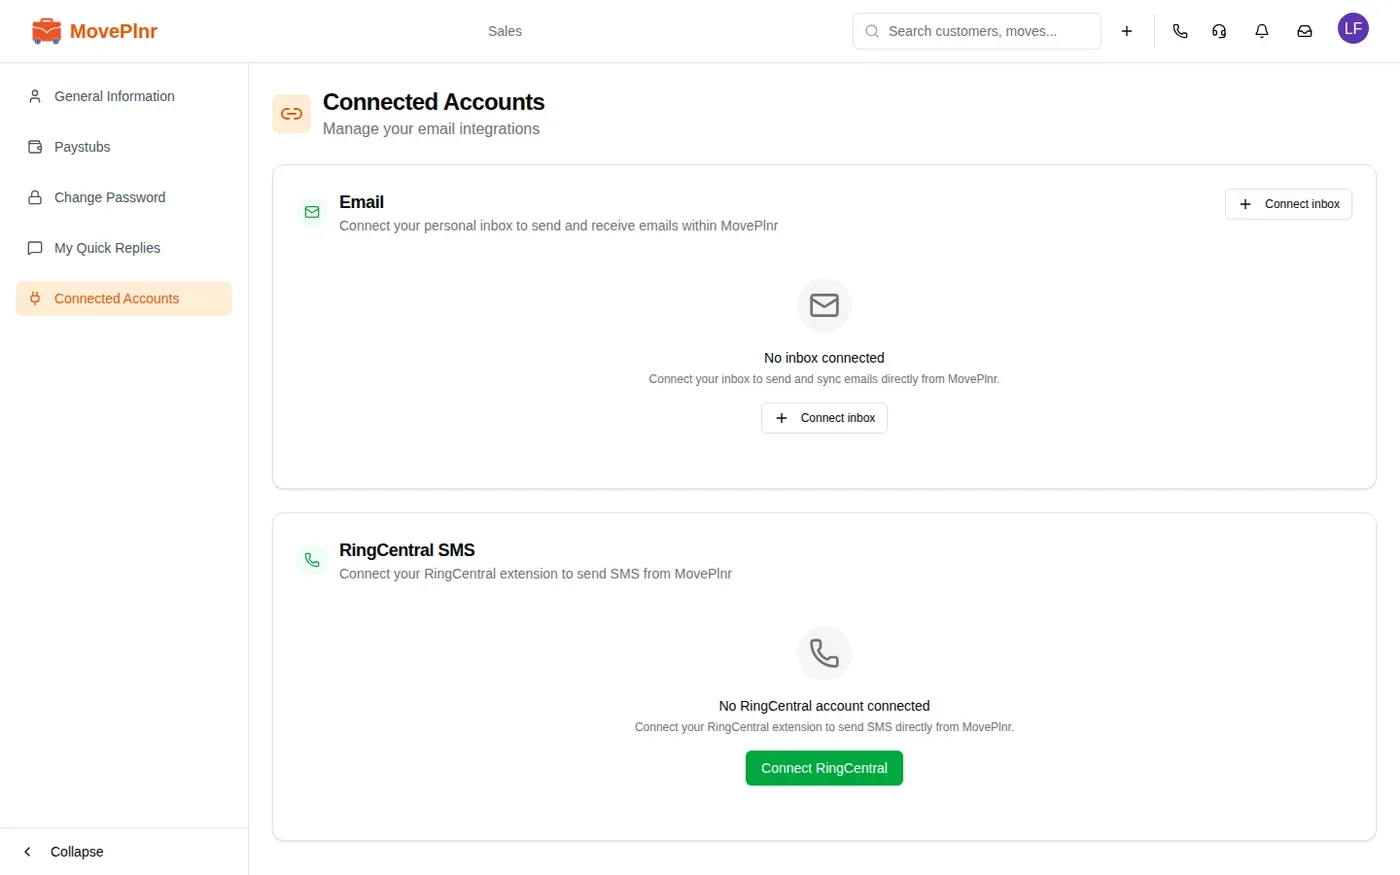
Anyone who sends email from MovePlnr can connect a personal inbox. Open your profile, go to Connected Accounts and click Connect inbox. On RingCentral, the same page connects your own extension under RingCentral SMS, so your texts go out from your own line.
Work the Inbox
Once a line or mailbox is connected, every conversation lands in the Inbox list, newest first. Click one to open the thread on the right.
- Texts show as a thread with the customer. Photos and videos a customer sends show right in the thread, and an iPhone photo is converted so it opens in any browser.
- Calls show who called, which line rang, how long it took and whether it was missed. A recorded call can be played and downloaded, and transcribed into text.
- Email threads read like your mail app: reply in the thread, or save a draft and come back to it.
The search and filter buttons at the top narrow the list: by customer name, by type (email, SMS, calls, Messenger or Instagram), by sales or dispatch, or to conversations that need attention or a reply. The round buttons beside the + button switch on a sales or dispatch focus, and Exit focus turns it off.
Follow a customer’s conversations
Every customer page has a Conversations card: their texts, calls and email on every company line, in one timeline. Automated texts and emails MovePlnr sends for you, such as contract reminders, show there too, marked Automated. Every text to a customer, automatic or not, goes out on your own line: the rep’s, the branch number or your main number. When one can’t go out, the message says so instead of sending it from another number.
- Open the customer from Customers, or from the search box at the top.
- Scroll to Conversations.
- Use All, Texts, Calls or Email to show one channel.
- Click Open in Inbox to work the thread in the Inbox.
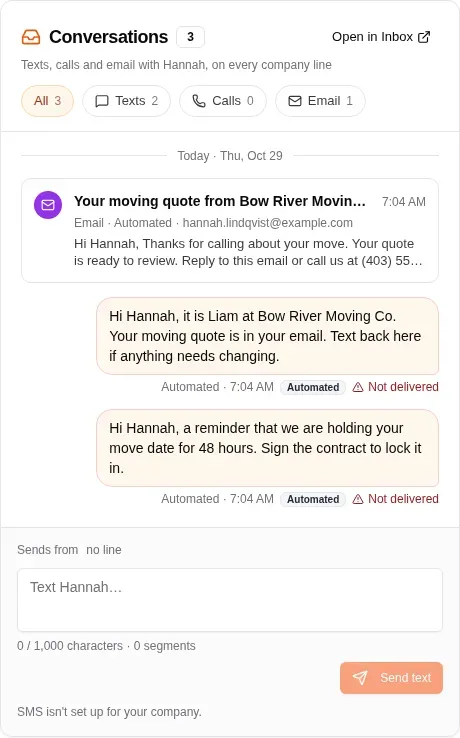
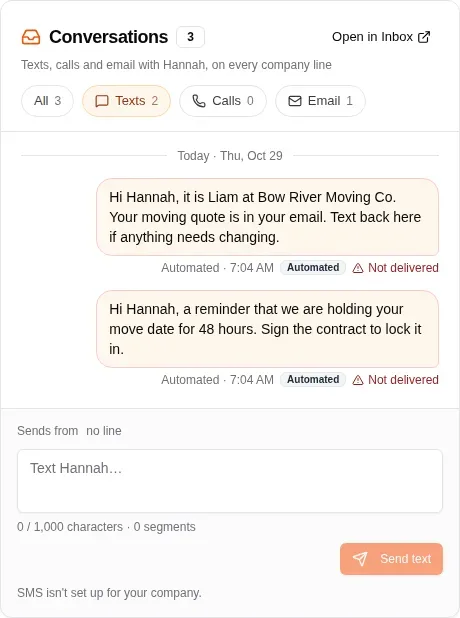
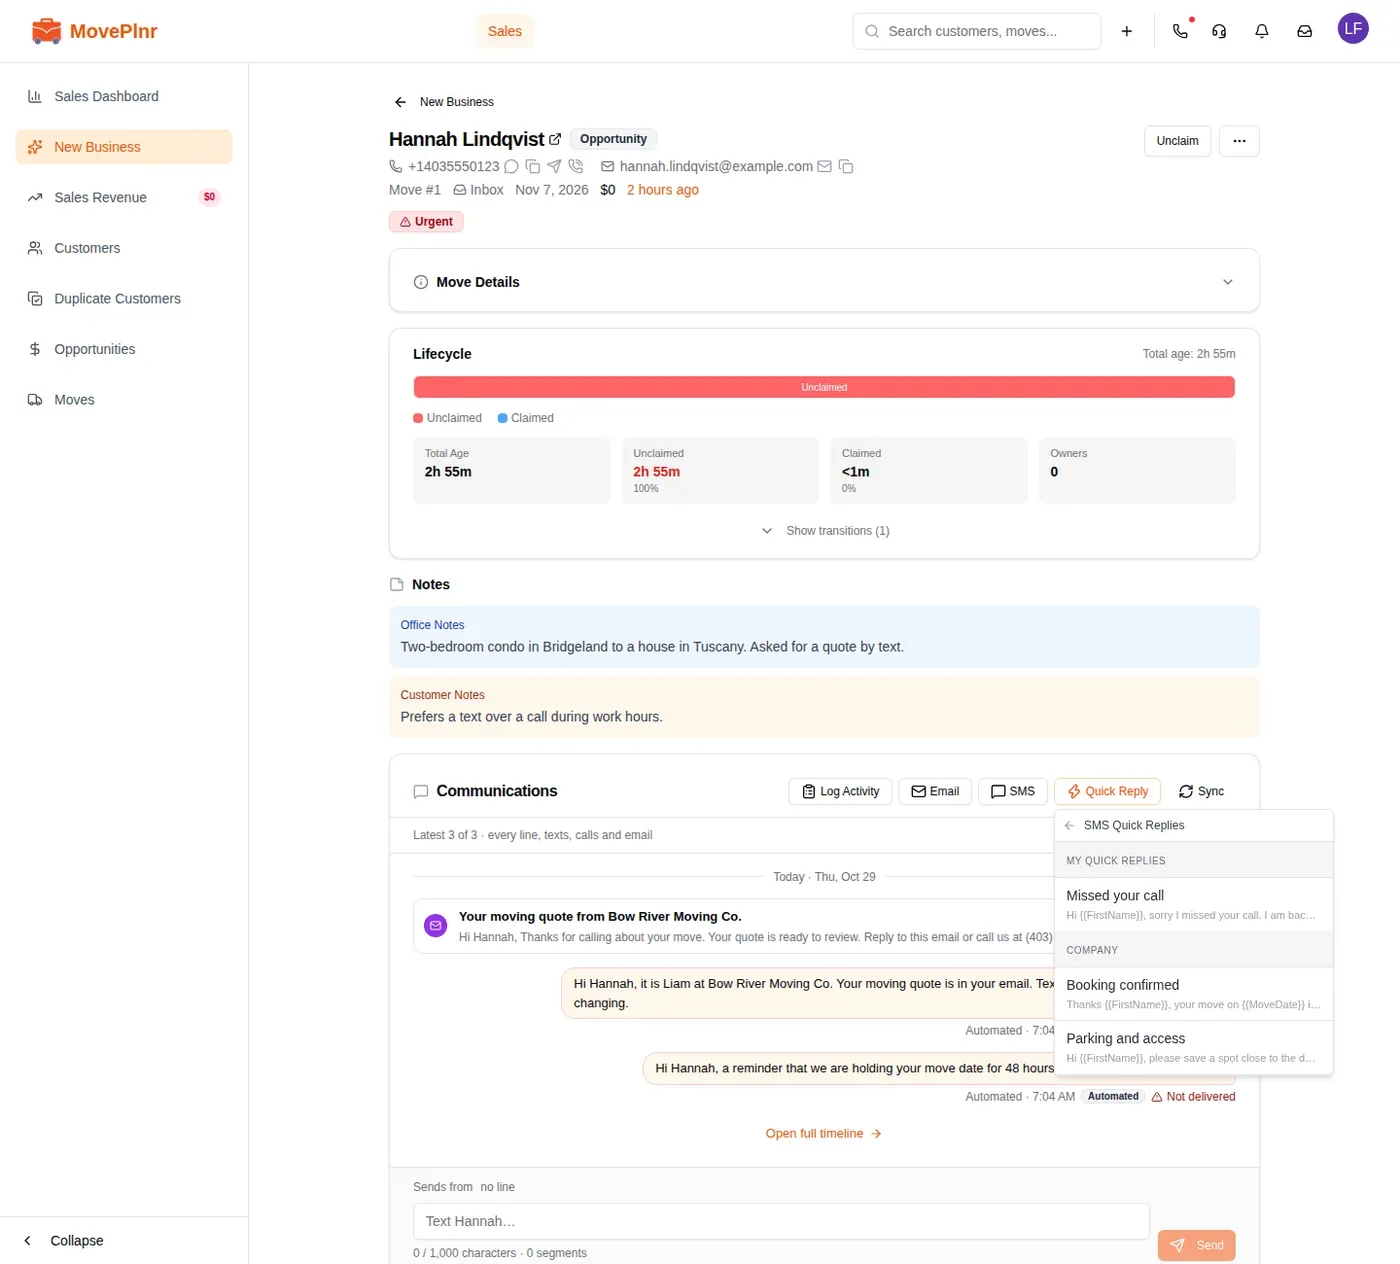
You can text the customer from the bottom of the card. Sends from shows which line the text leaves from. With no phone line connected, the card says texting isn’t set up yet.
The same timeline sits in the Communications card on every opportunity, so a sales rep sees the whole history before calling back.
Answer faster with Quick Replies
Quick Replies are saved messages for the things you write every day. Pick one and MovePlnr fills in the customer’s details for you. Quick Replies is an add-on.
Company Quick Replies
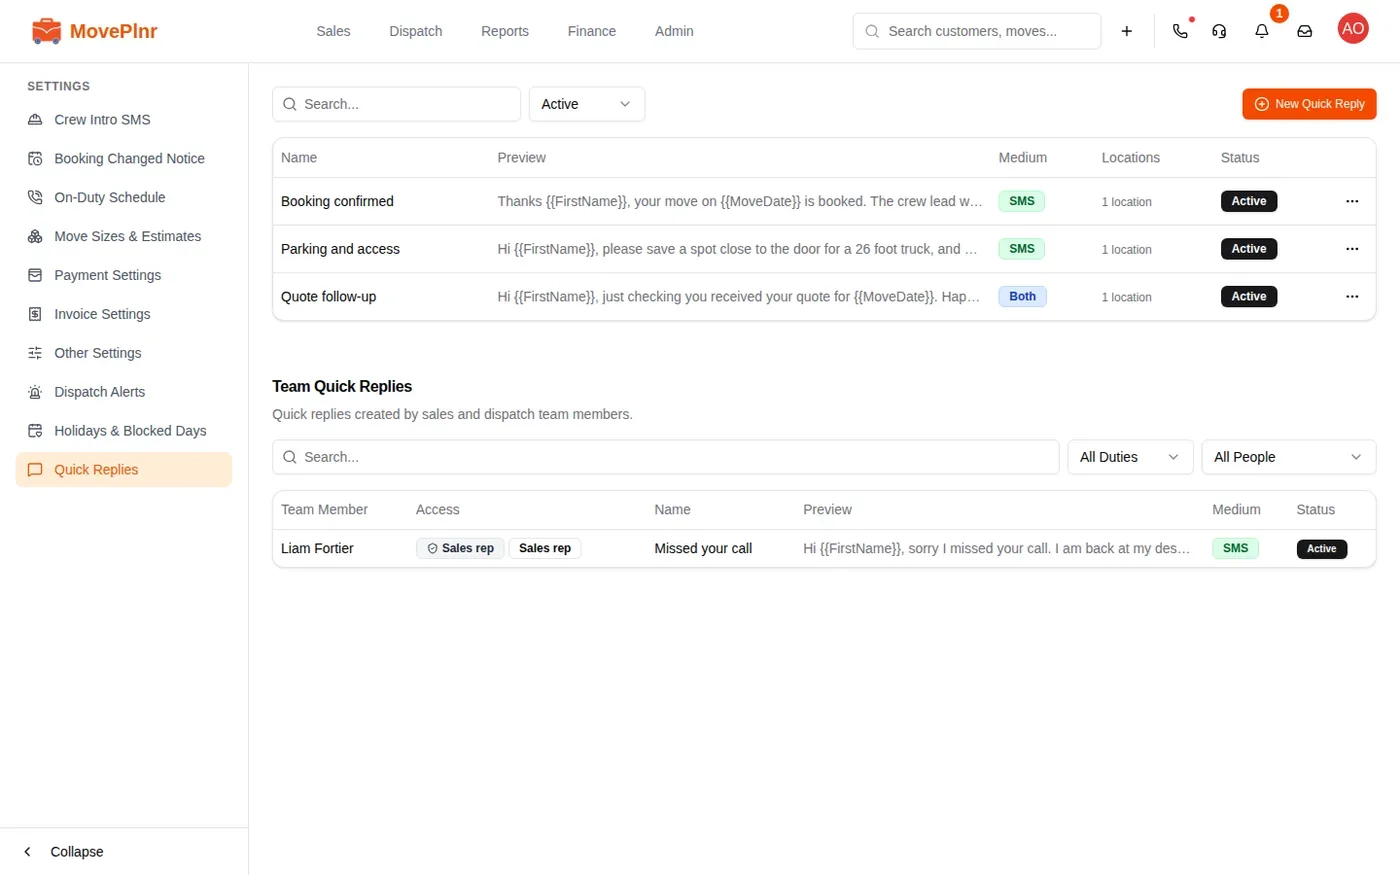
An admin writes the ones everyone shares, per location.
- Open Admin, Settings, then Quick Replies.
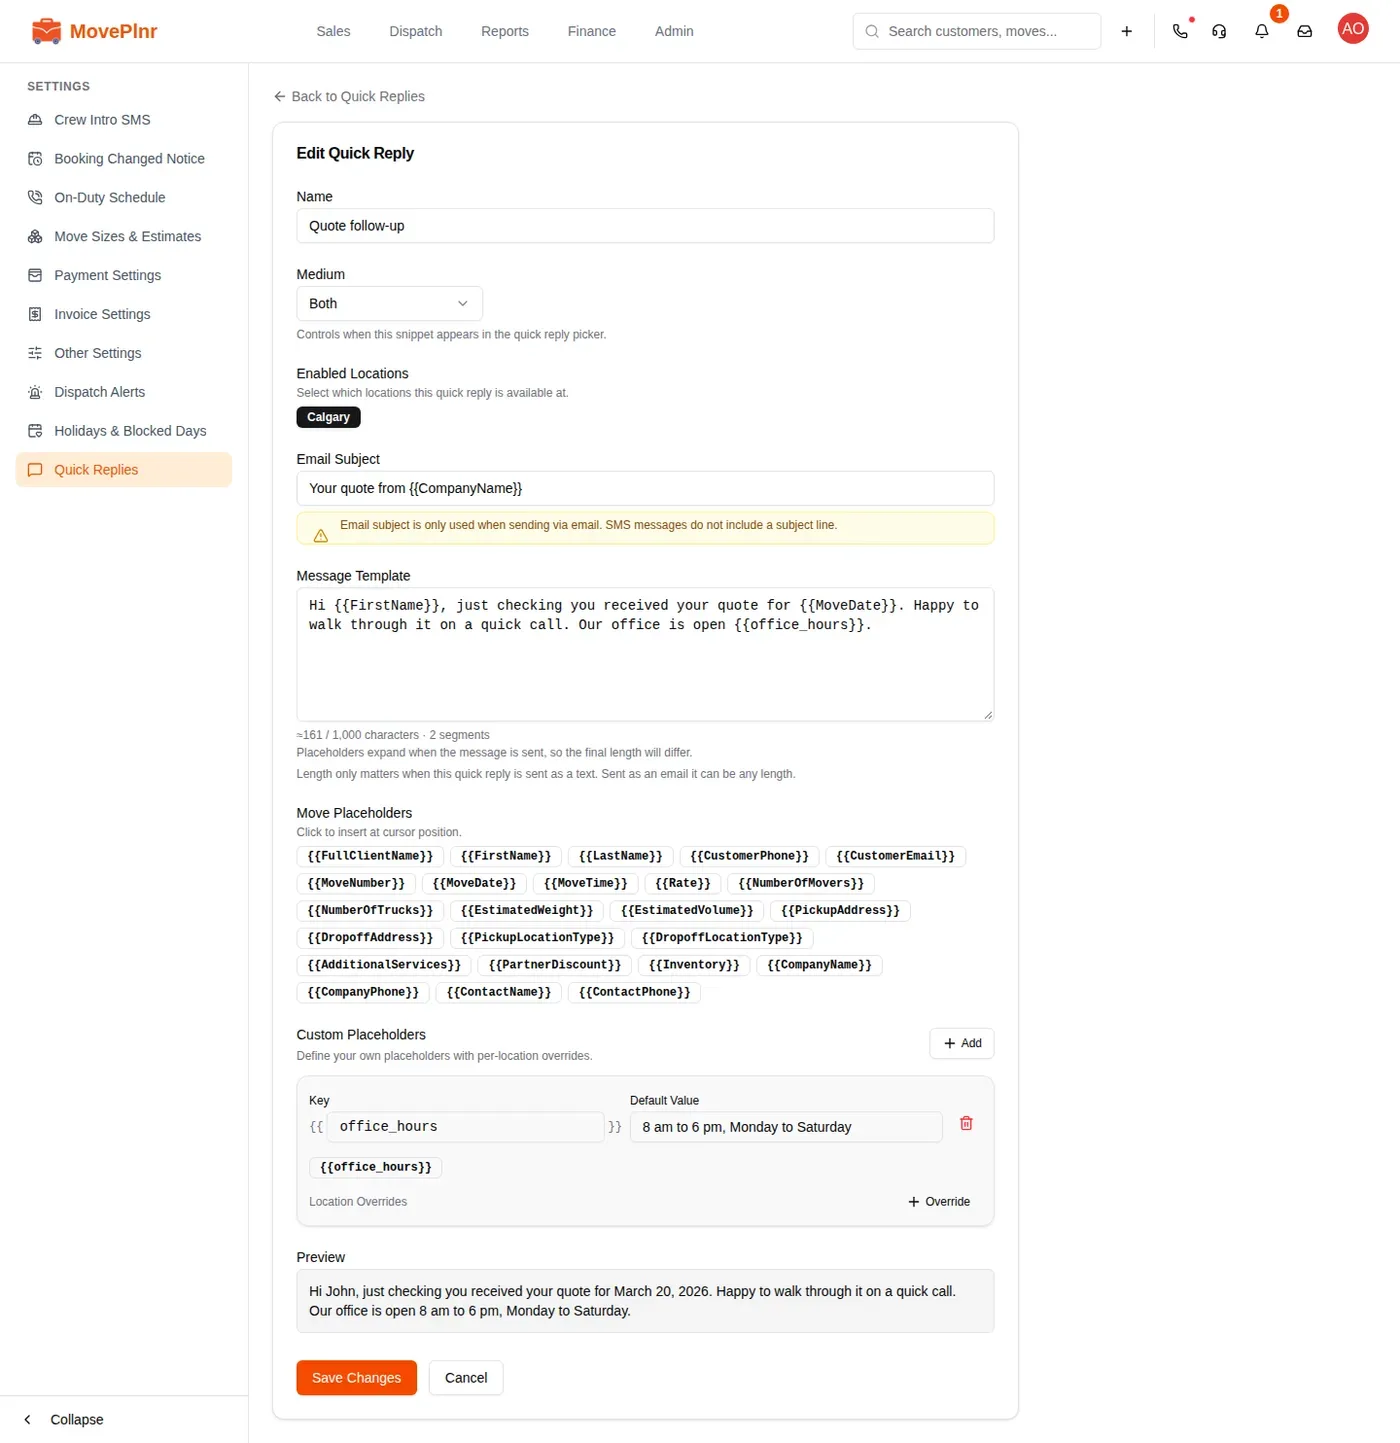
- Click New Quick Reply and give it a name.
- Set the Medium: SMS, Email or Both. It decides where the reply shows up in the picker.
- Under Enabled Locations, pick the locations that can use it.
- Write the Message Template. Click any of the Move Placeholders, such as
{{FirstName}}or{{MoveDate}}, to drop it in. - For email, add an Email Subject. Texts never include it.
- Check the Preview, then click Save Changes.
Your own Quick Replies
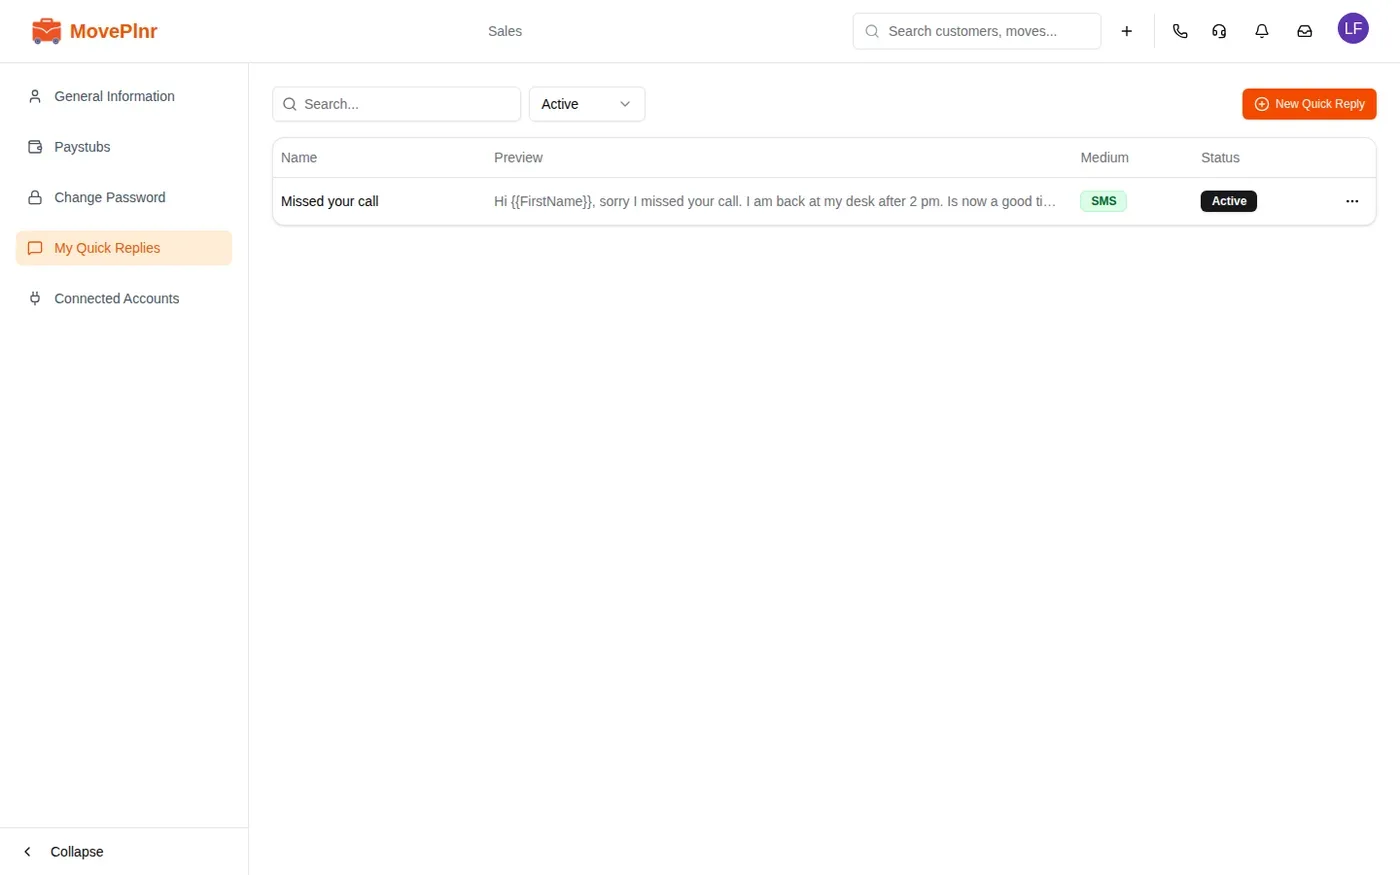
Sales reps and dispatchers can write their own. Open your profile, then My Quick Replies, and click New Quick Reply. Admins see everyone’s under Team Quick Replies.
Send one
- Open the opportunity and find the Communications card.
- Click Quick Reply, then SMS or Email.
- Pick a reply. Yours are listed first, then the company’s.
- Check the filled in message, change anything you like, and send.